Queue
Kapstan offers simple setup for popular message queues and event streaming technologies. This page will guide you through the process of creating a new queue in your environment.
Pre-requisites
Before you proceed, ensure you have a virtual network and Kubernetes cluster configured up in Kapstan. To see how to do this, please follow the steps in our Virtual Network and Kubernetes Cluster documentation.
Steps to Create a Queue
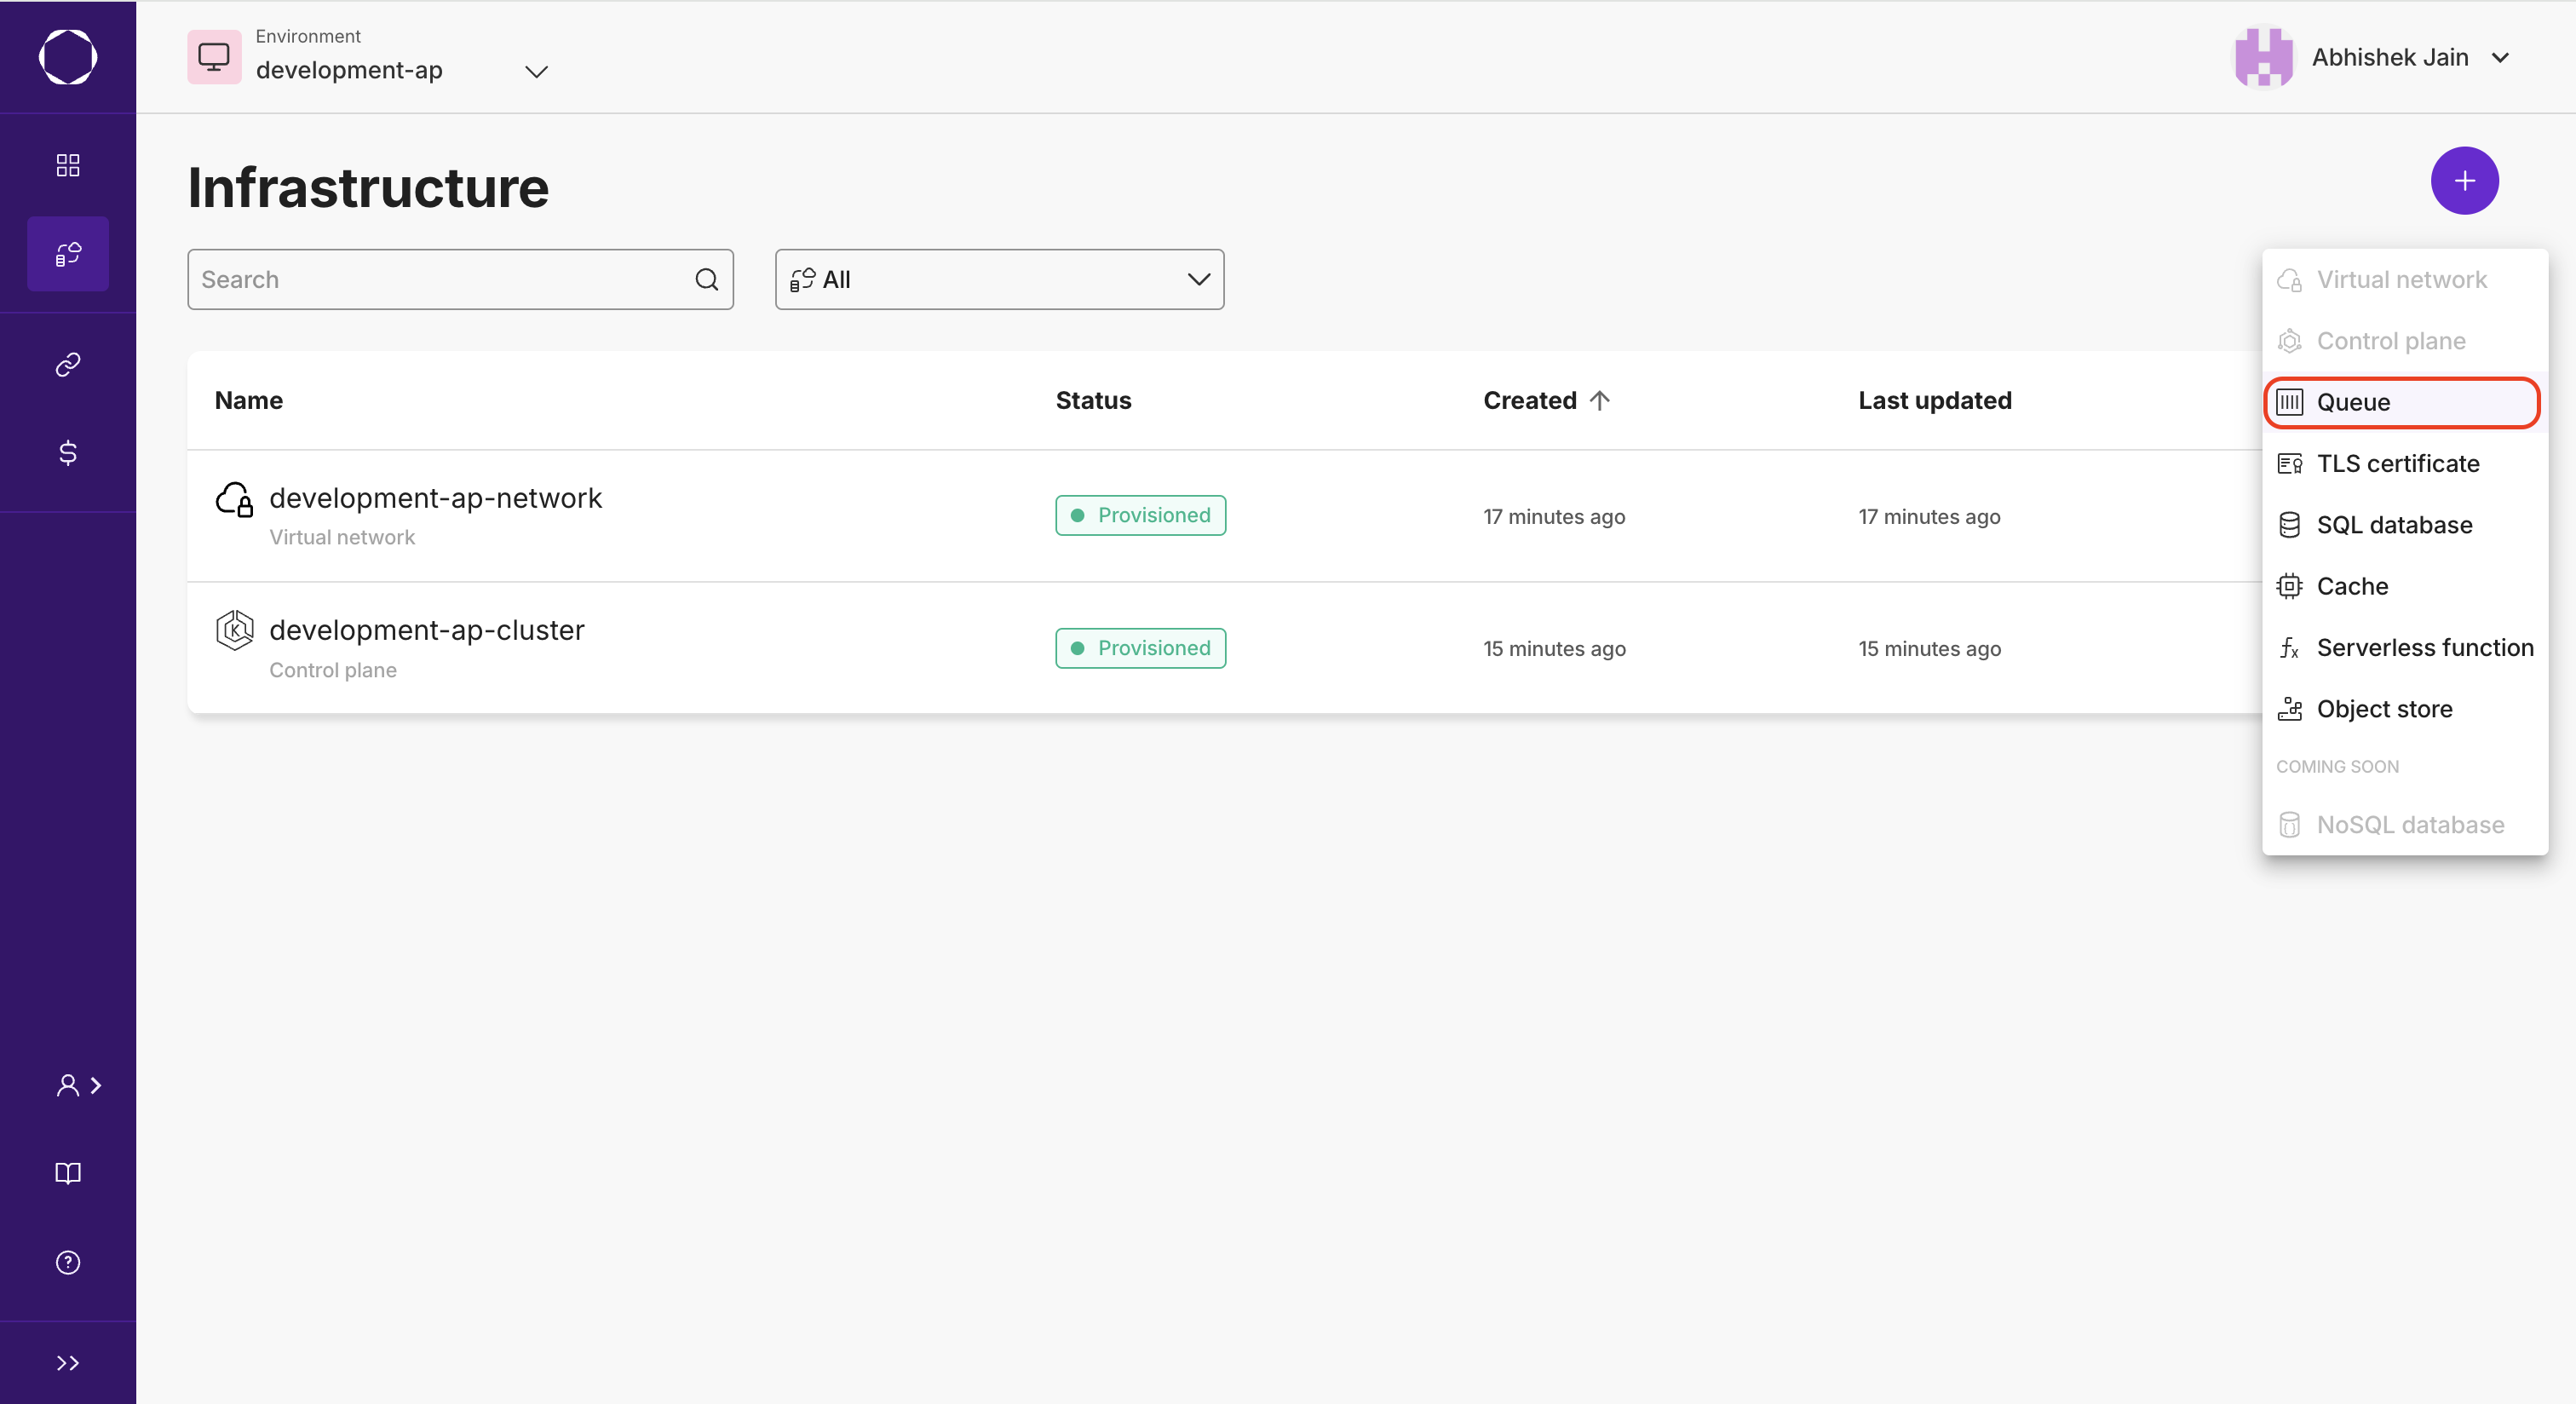
- Navigate to the Infrastructure Overview on Kapstan.
- Click on "Create" and then on "Queue".
Configuration
Kapstan offers four types of queues: NATS, Kafka, AWS SQS and GCP Pub/Sub. Each configuration option has a short description explaining its use case.
NATS
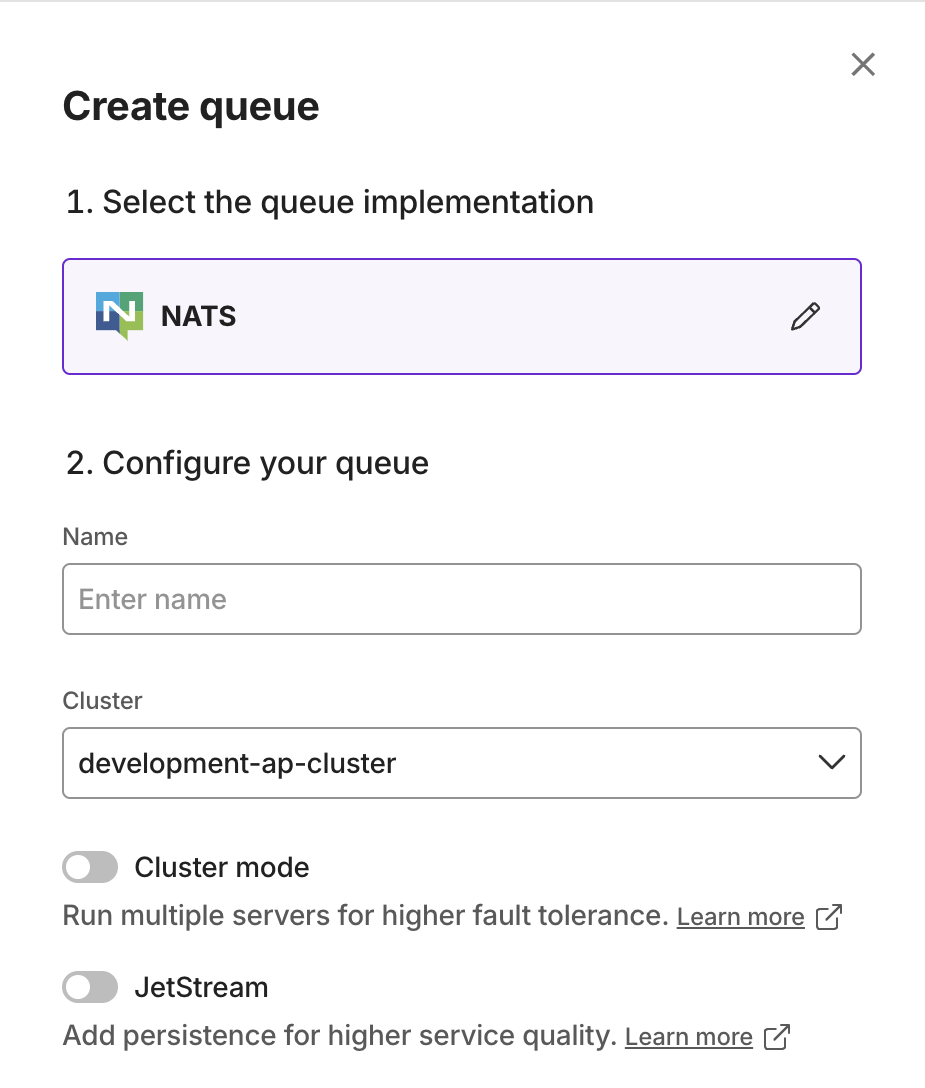
- Cluster mode: will run the service in cluster mode.
- JetStream: will enable JetStream
Kafka
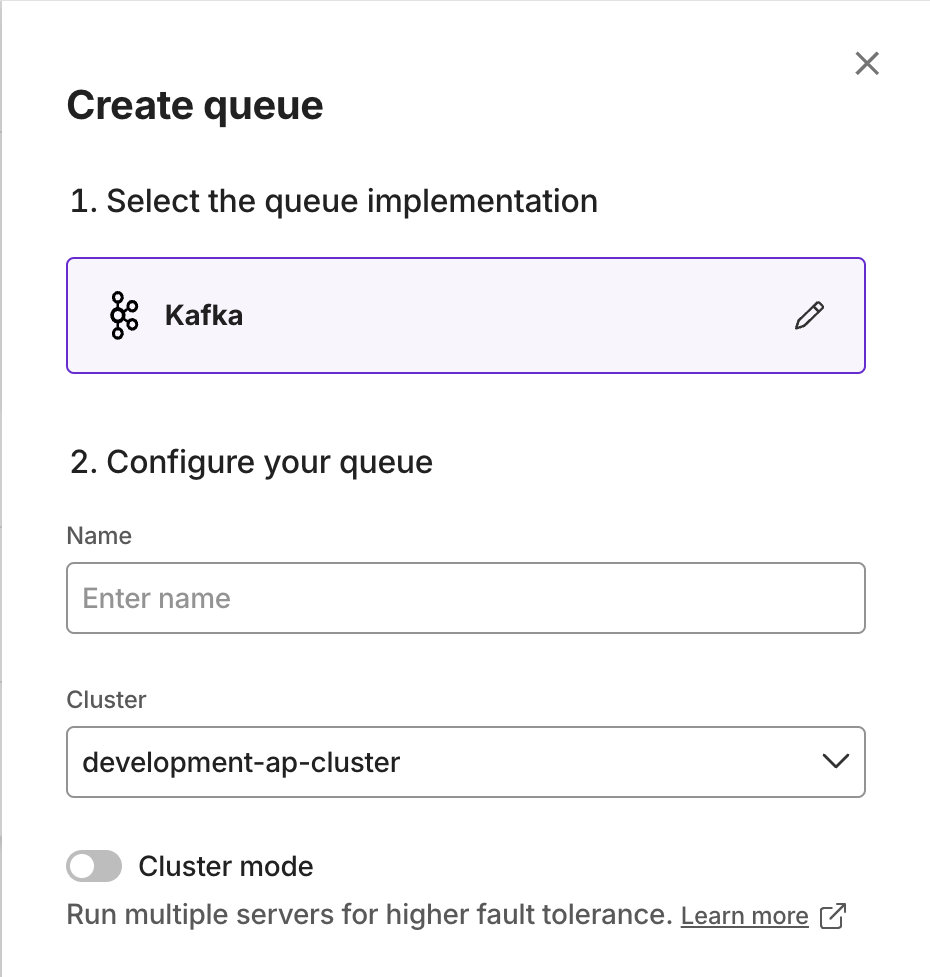
- Cluster mode: will run the service in cluster mode. This will run multiple Kafka servers to provide fault tolerance and high availability.
AWS SQS
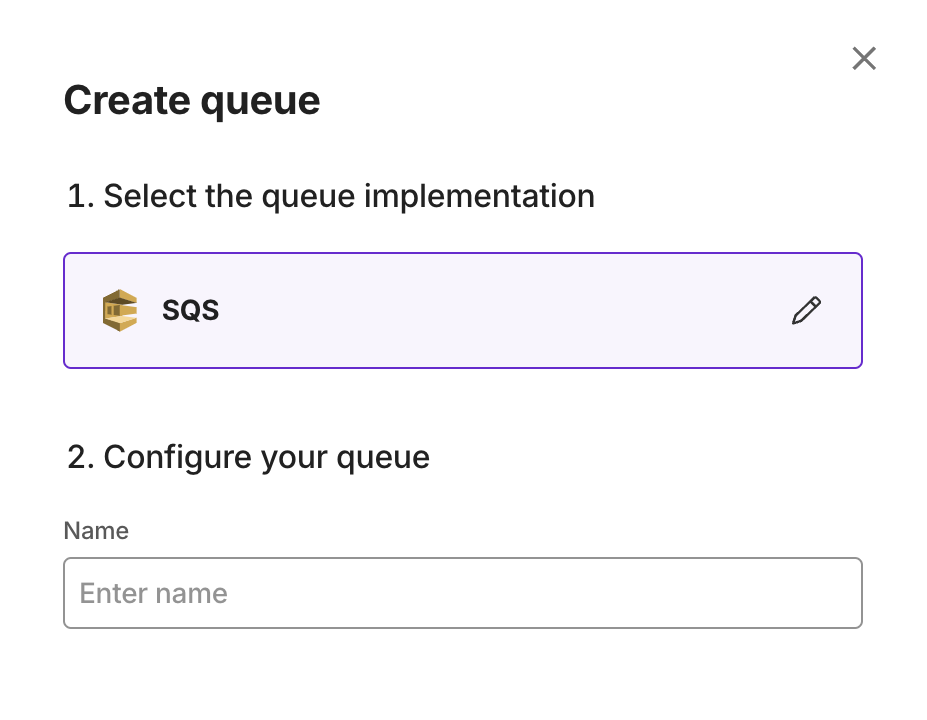
- Kapstan creates a best-effort ordering queue behind the scenes. This queue comes with a default 4 days retention and without a dead-letter queue. 100% ordering is not guaranteed. Learn more
GCP Pub/Sub
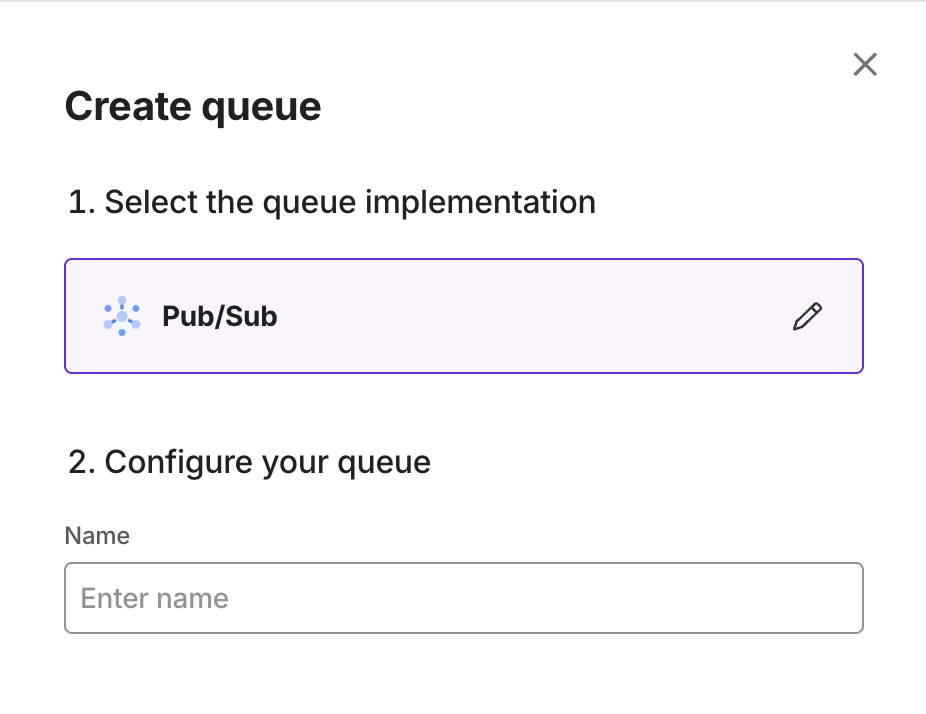
- Kapstan creates a best-effort ordering queue behind the scenes. This queue comes with a default 30 days retention and without a dead-letter queue. 100% ordering is not guaranteed. Learn more
Behind the Scenes
When you request a queue to be created, Kapstan automatically configures the necessary infrastructure and service settings required to make your queue operational and secure.
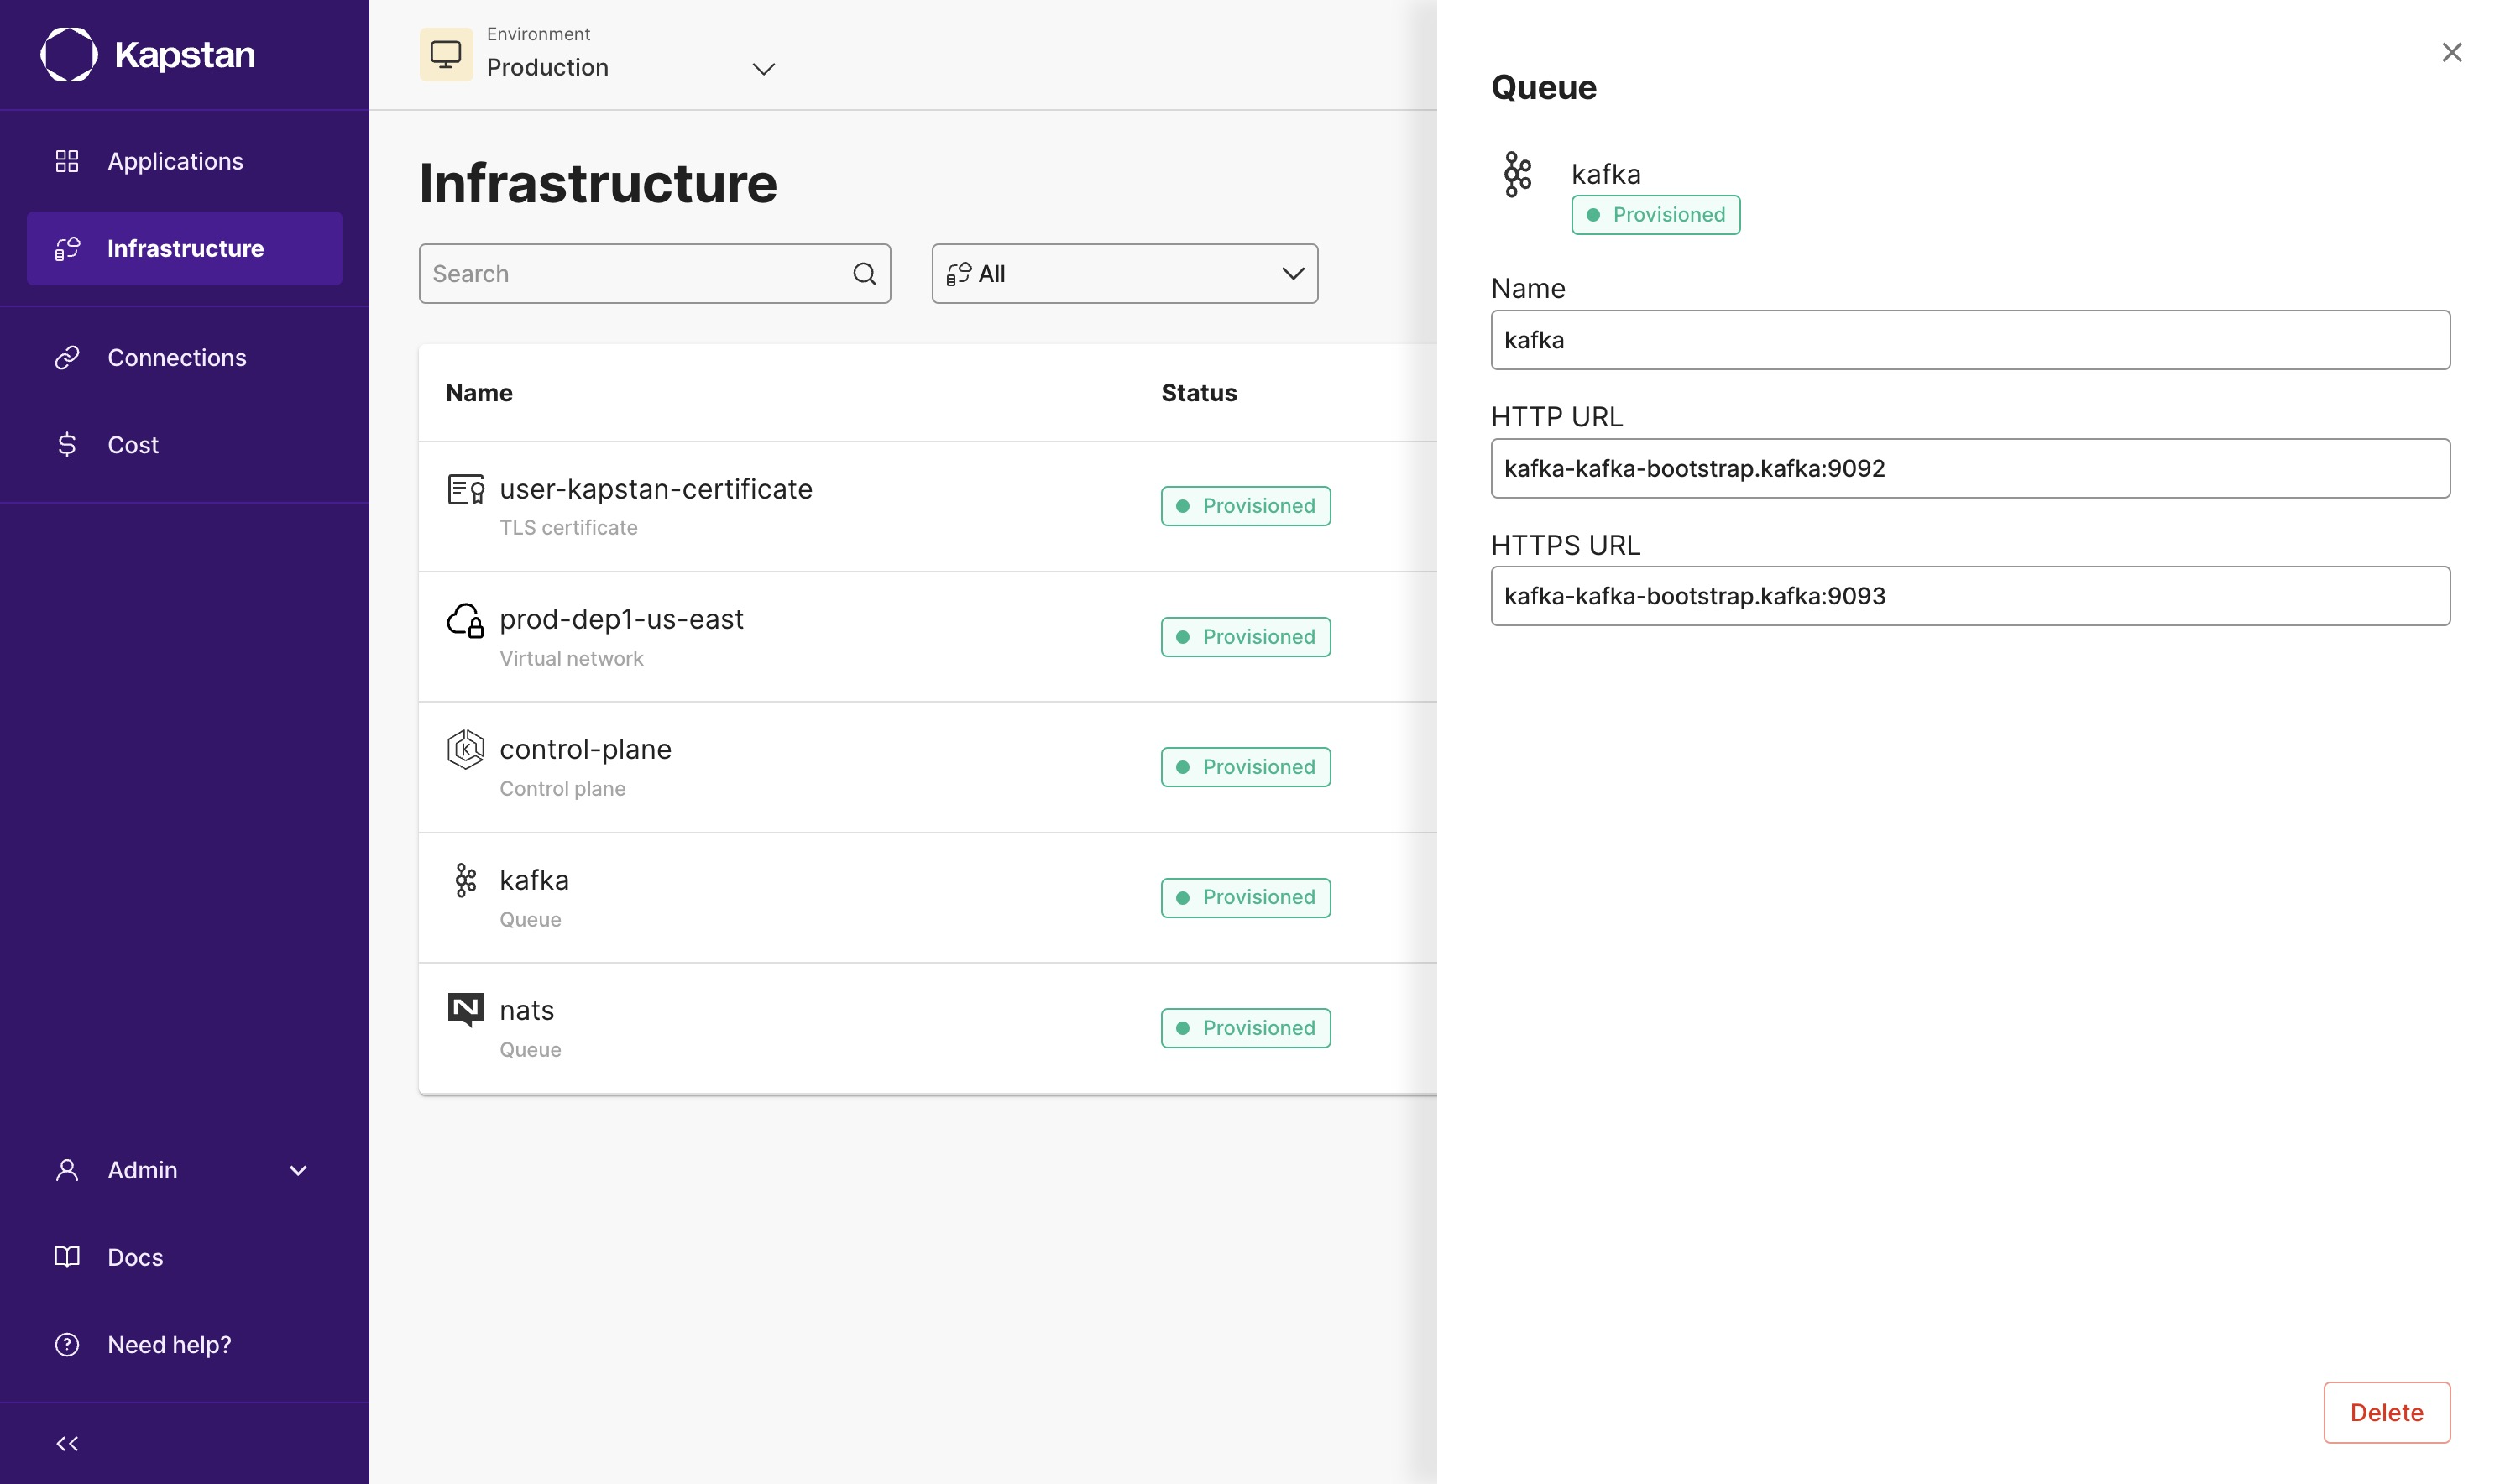
Connecting to your Queue
Once your queue is provisioned, you will be able to connect to it using the information provided in the detailed view.
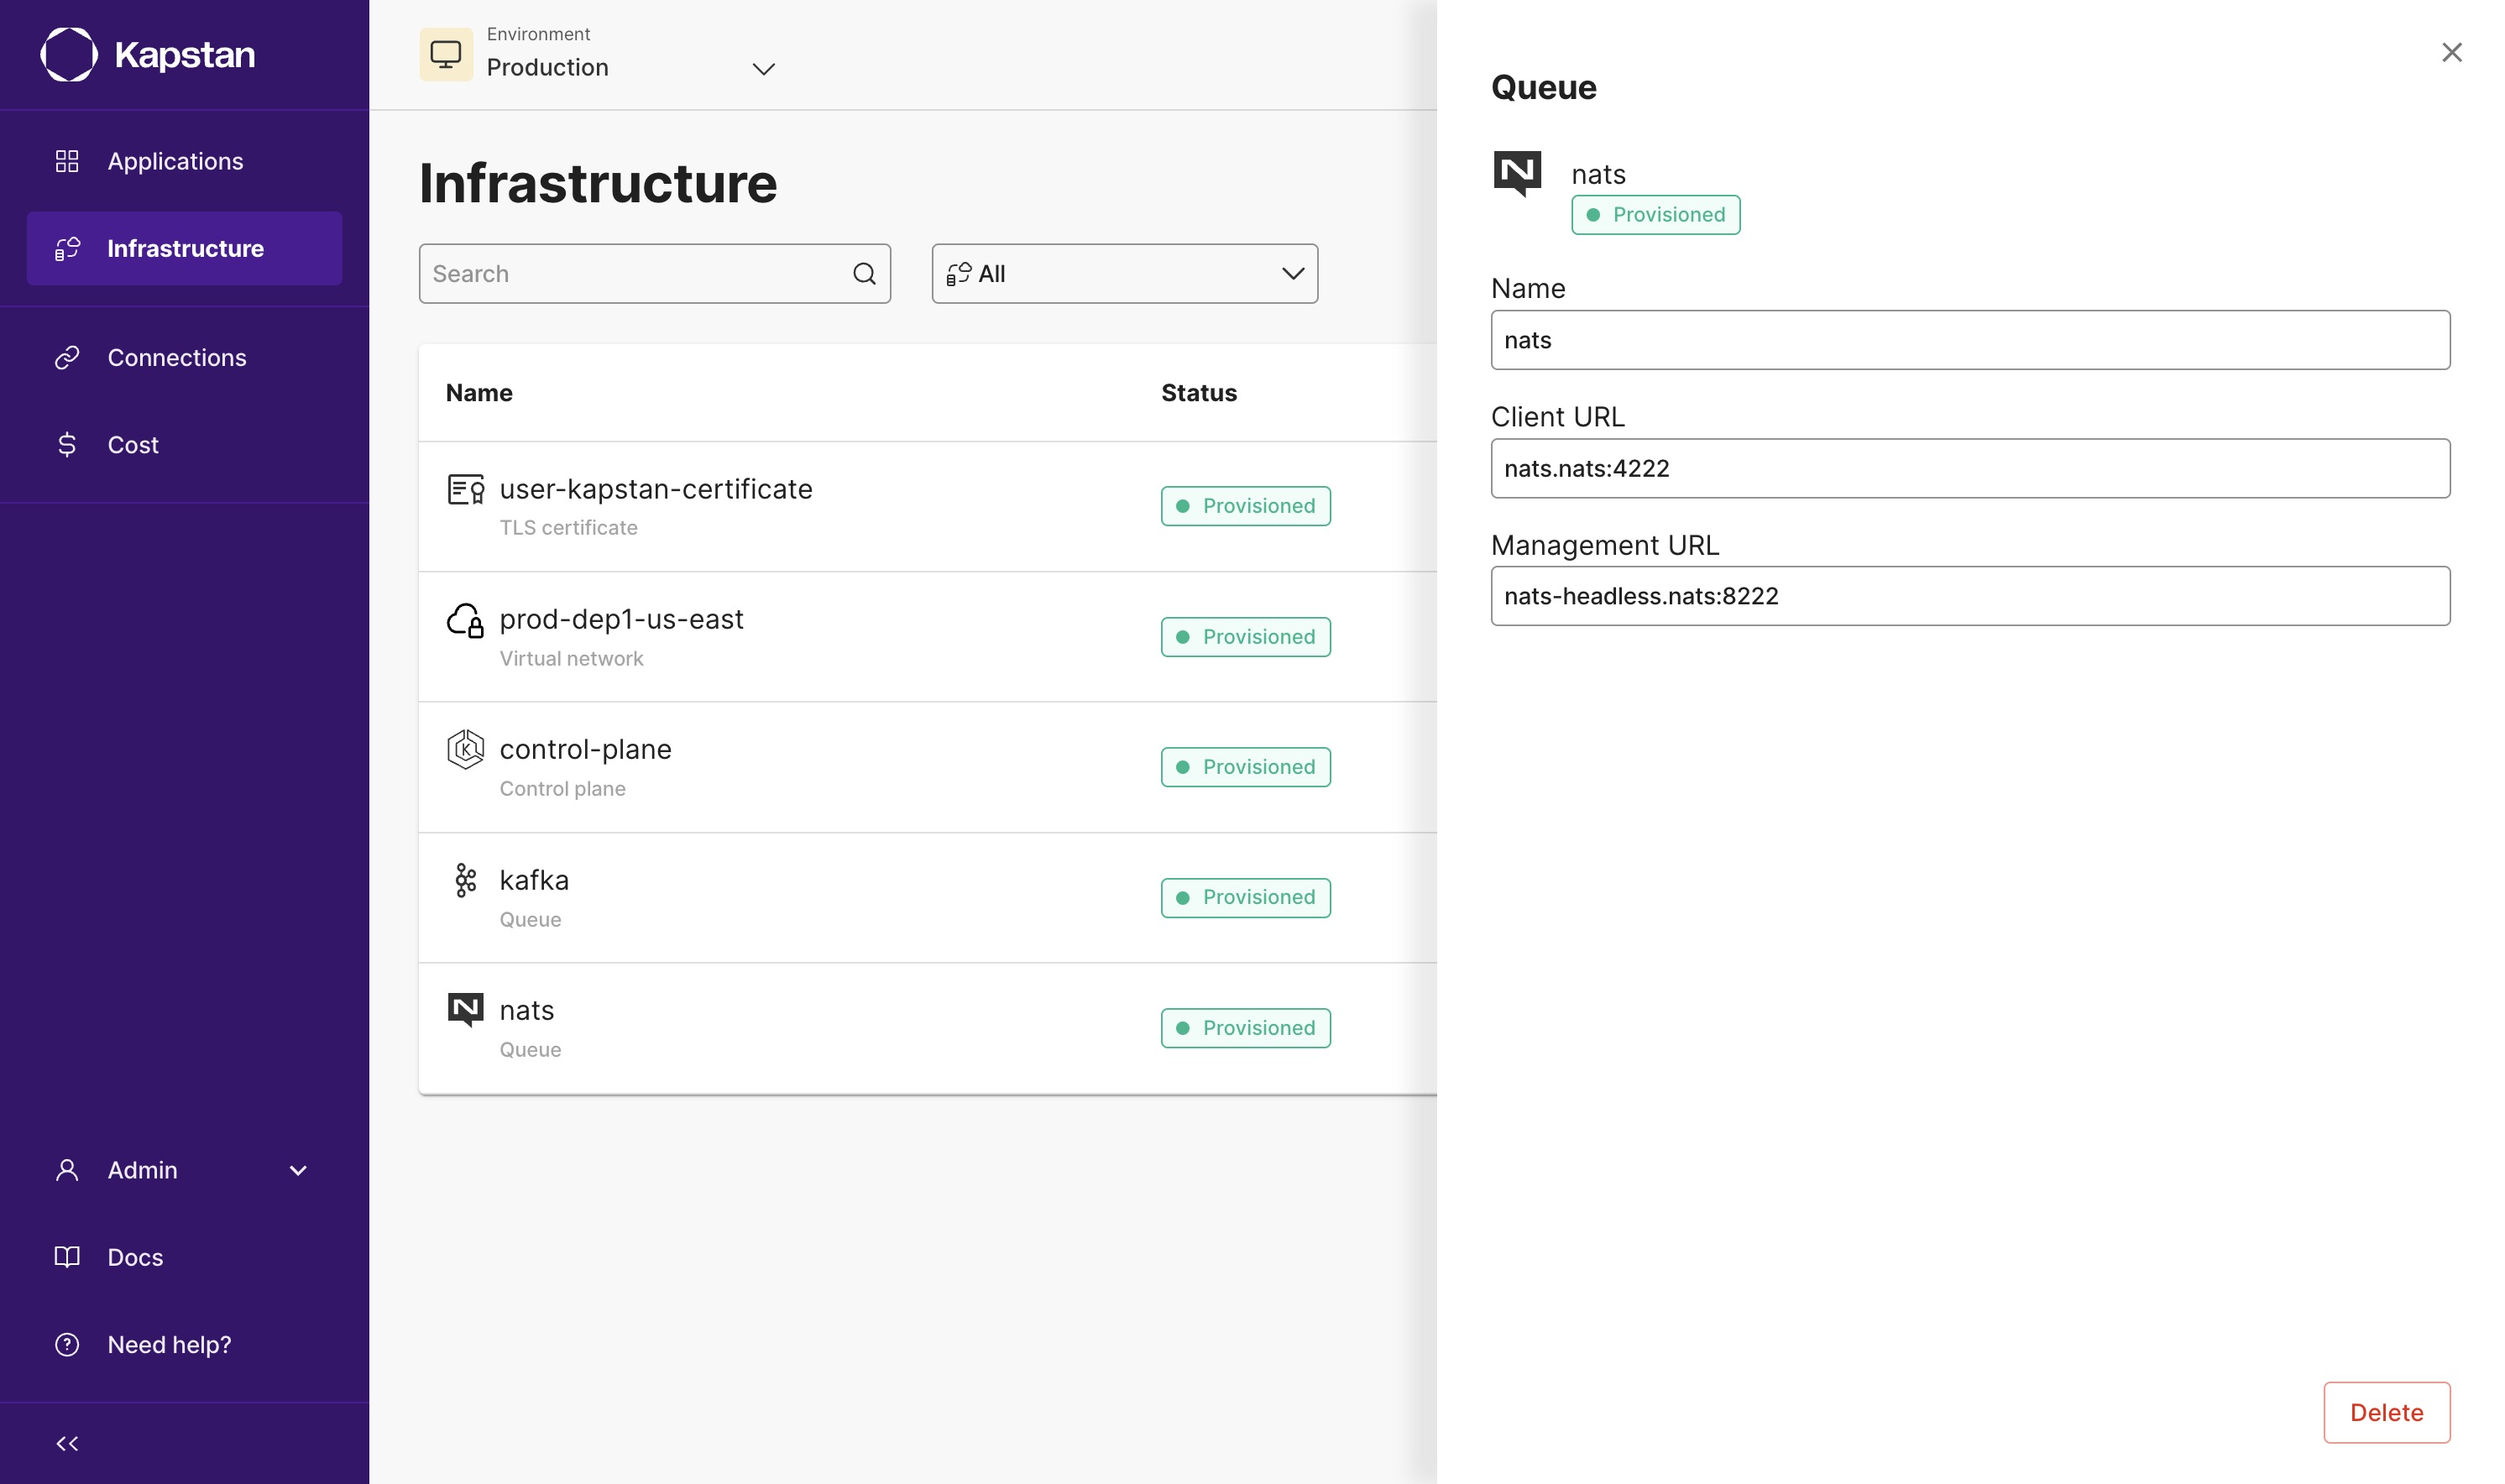
We will be using the following code to demonstrate how to connect to a NATS queue.
package main

import (
	"fmt"
	"github.com/nats-io/nats.go"
	"log"
	"os"
	"time"
)

func main() {
	nc, err := nats.Connect(os.Getenv("NATS_SERVER_URL"))
	if err != nil {
		log.Panic(err)
	}

	defer nc.Drain()

	subscribe(nc, "normal_subscriber", "foo.1")
	subscribe(nc, "wildcard_subscriber", "foo.*")
	ticker := time.NewTicker(5 * time.Second)

	for {
		select {
		case <-ticker.C:
			err = nc.Publish("foo.1", []byte("Hello World"))
			if err != nil {
				log.Panic(err)
			}

			err = nc.Publish("foo.2", []byte("Hello World"))
			if err != nil {
				log.Panic(err)
			}
		}
	}

}

func subscribe(client *nats.Conn, name, subject string) {
	_, err := client.Subscribe(subject, func(msg *nats.Msg) {
		fmt.Printf("sub %s: received message %q\n", name, msg.Subject)
	})

	if err != nil {
		log.Panic(err)
	}
}
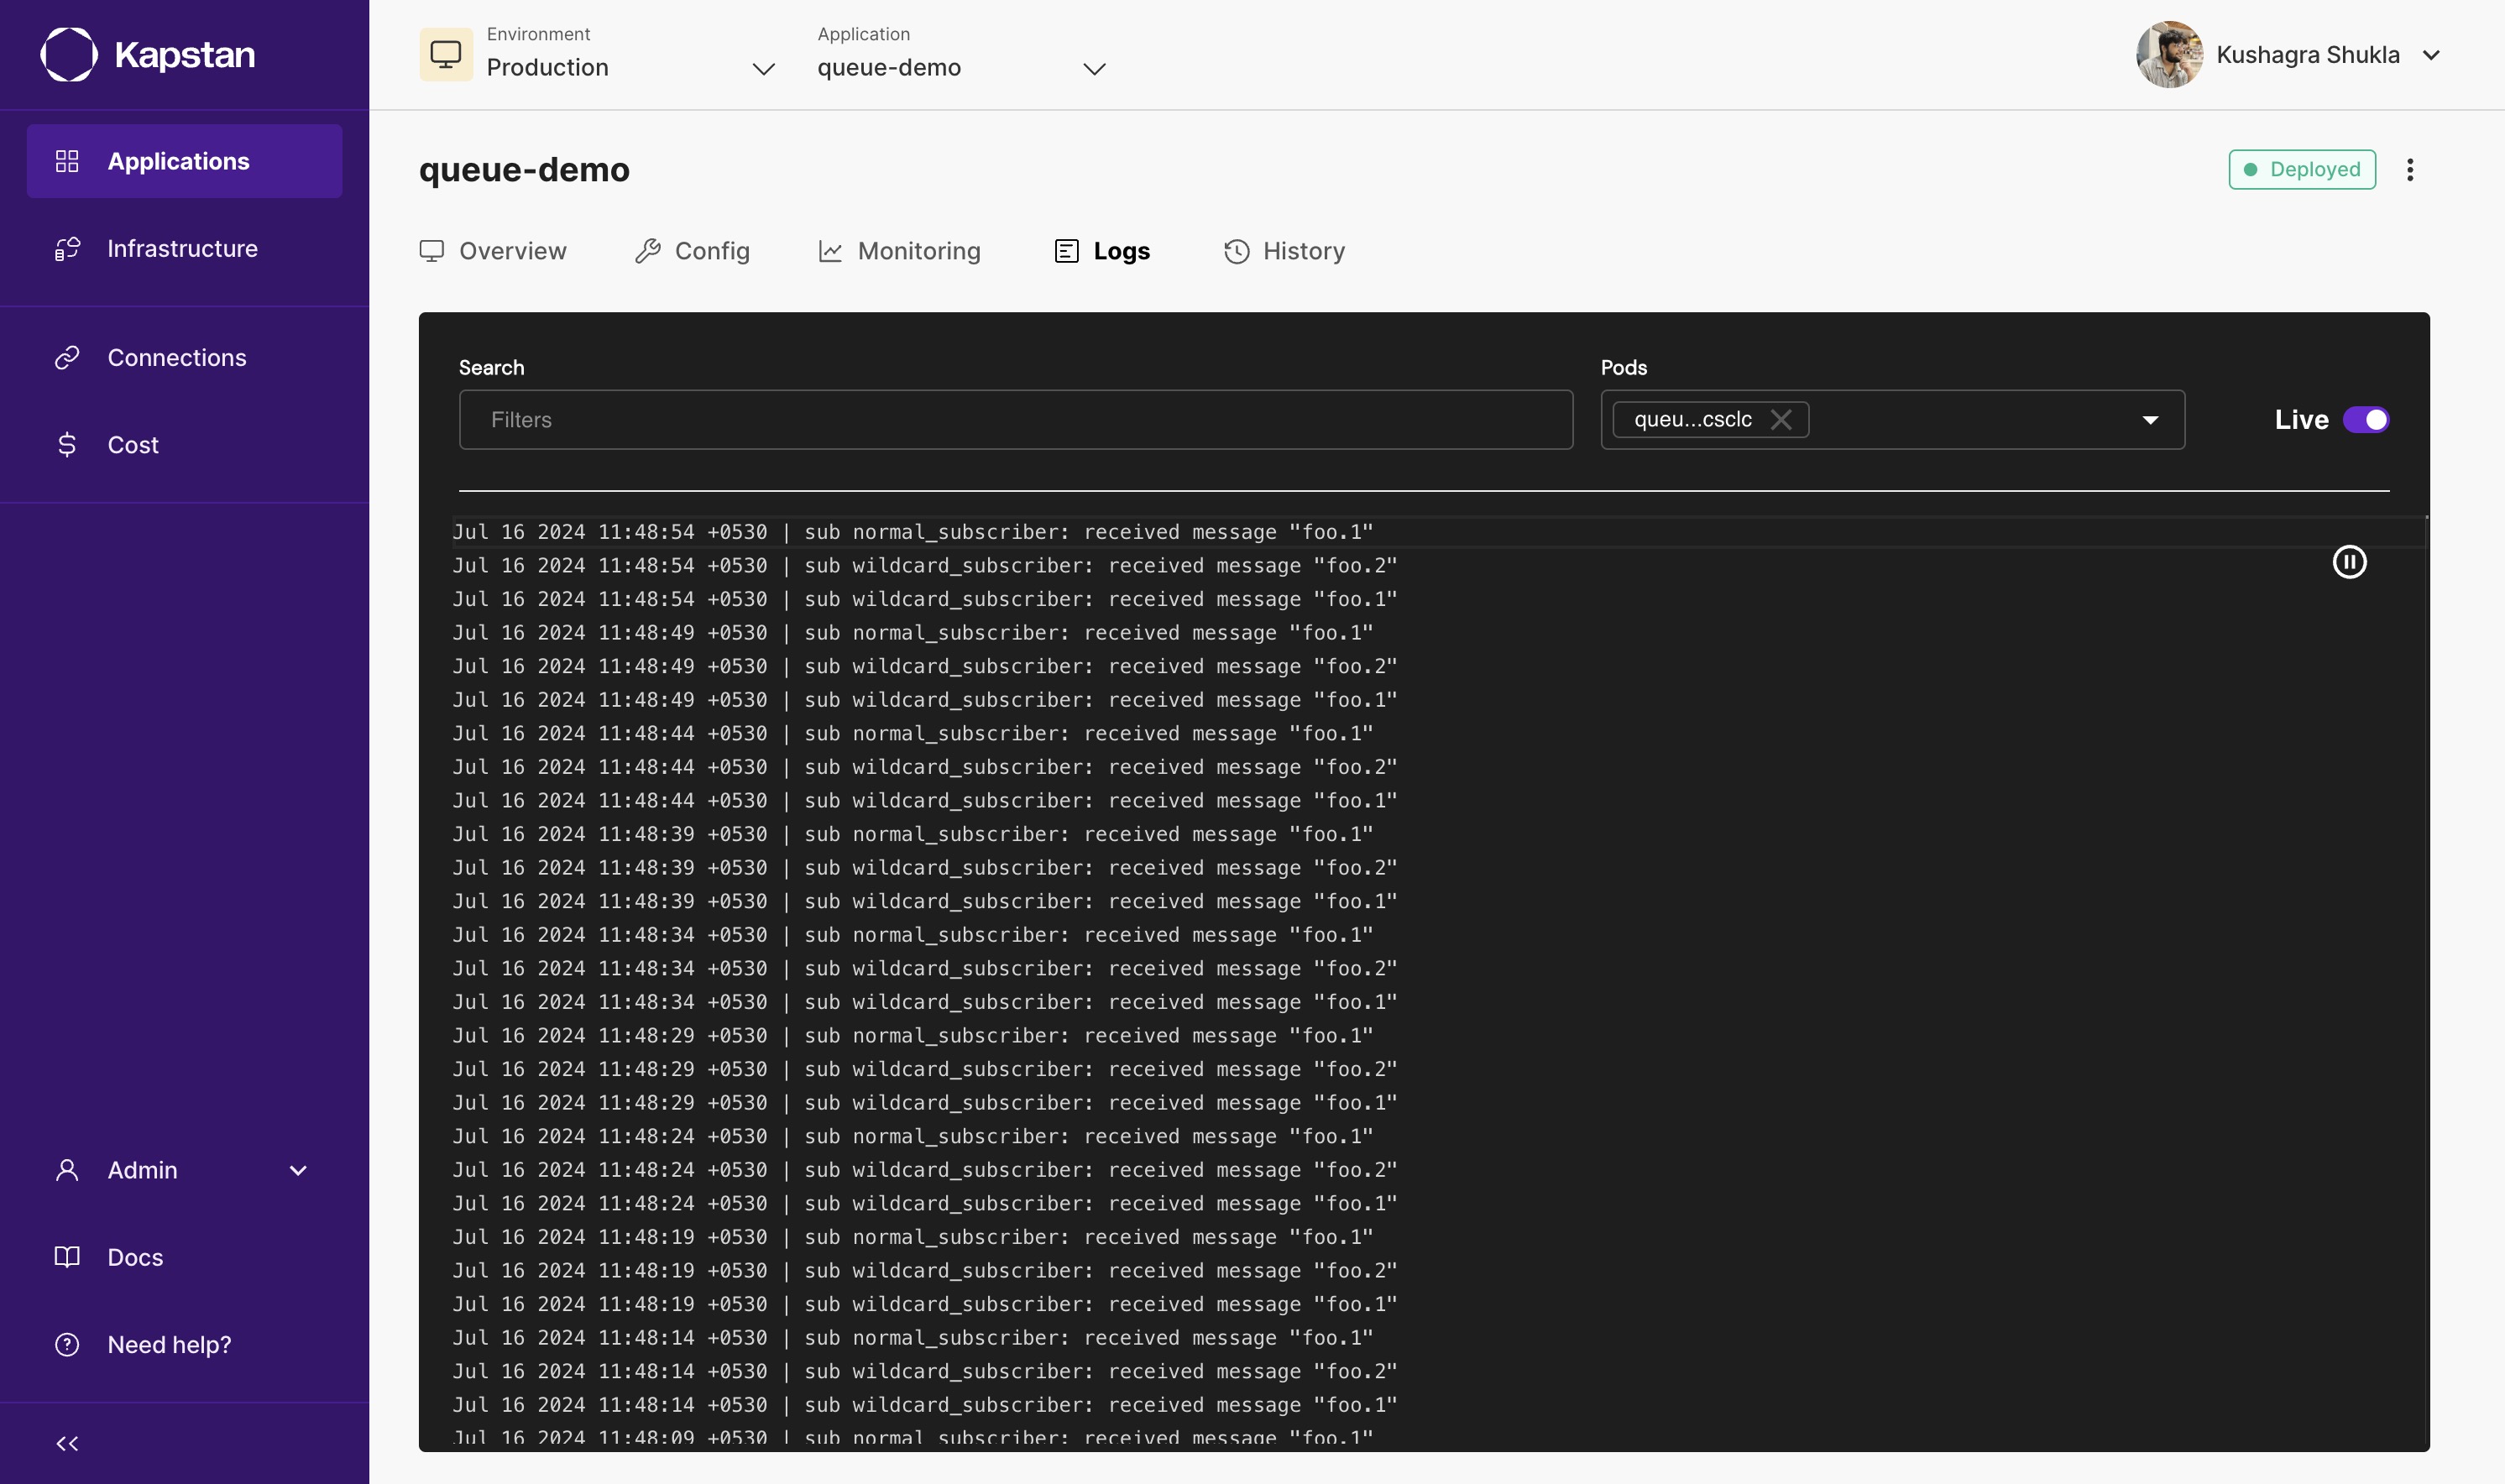
The code will create two NATS subscribers, one that listens to the "foo.1" subject and another that listens to all subjects that start with "foo.". It will then publish a message to the "foo.1" and "foo.2" subjects every 5 seconds. You can download a zip file containing the code along with a Dockerfile to build a container image from here.
After deploying an application in Kapstan with our sample code, we can use the Logs feature in Kapstan to see the output of the code.