
Creating an Environment
When you launch an environment to build a new application, Kapstan launches resources in your cloud account. To prepare the new environment, Kapstan launches:
- A Virtual Network which contains all the necessary resources like subnets, NAT gateway, endpoints and VPC.
- A Kubernetes cluster with appropriate IAM roles.
Step 1: Create environment
- Navigate to create an environment page.
- Select the “Build a New Application” option.
- Provide a meaningful name to reference your environment.
- Click
Nextto proceed.
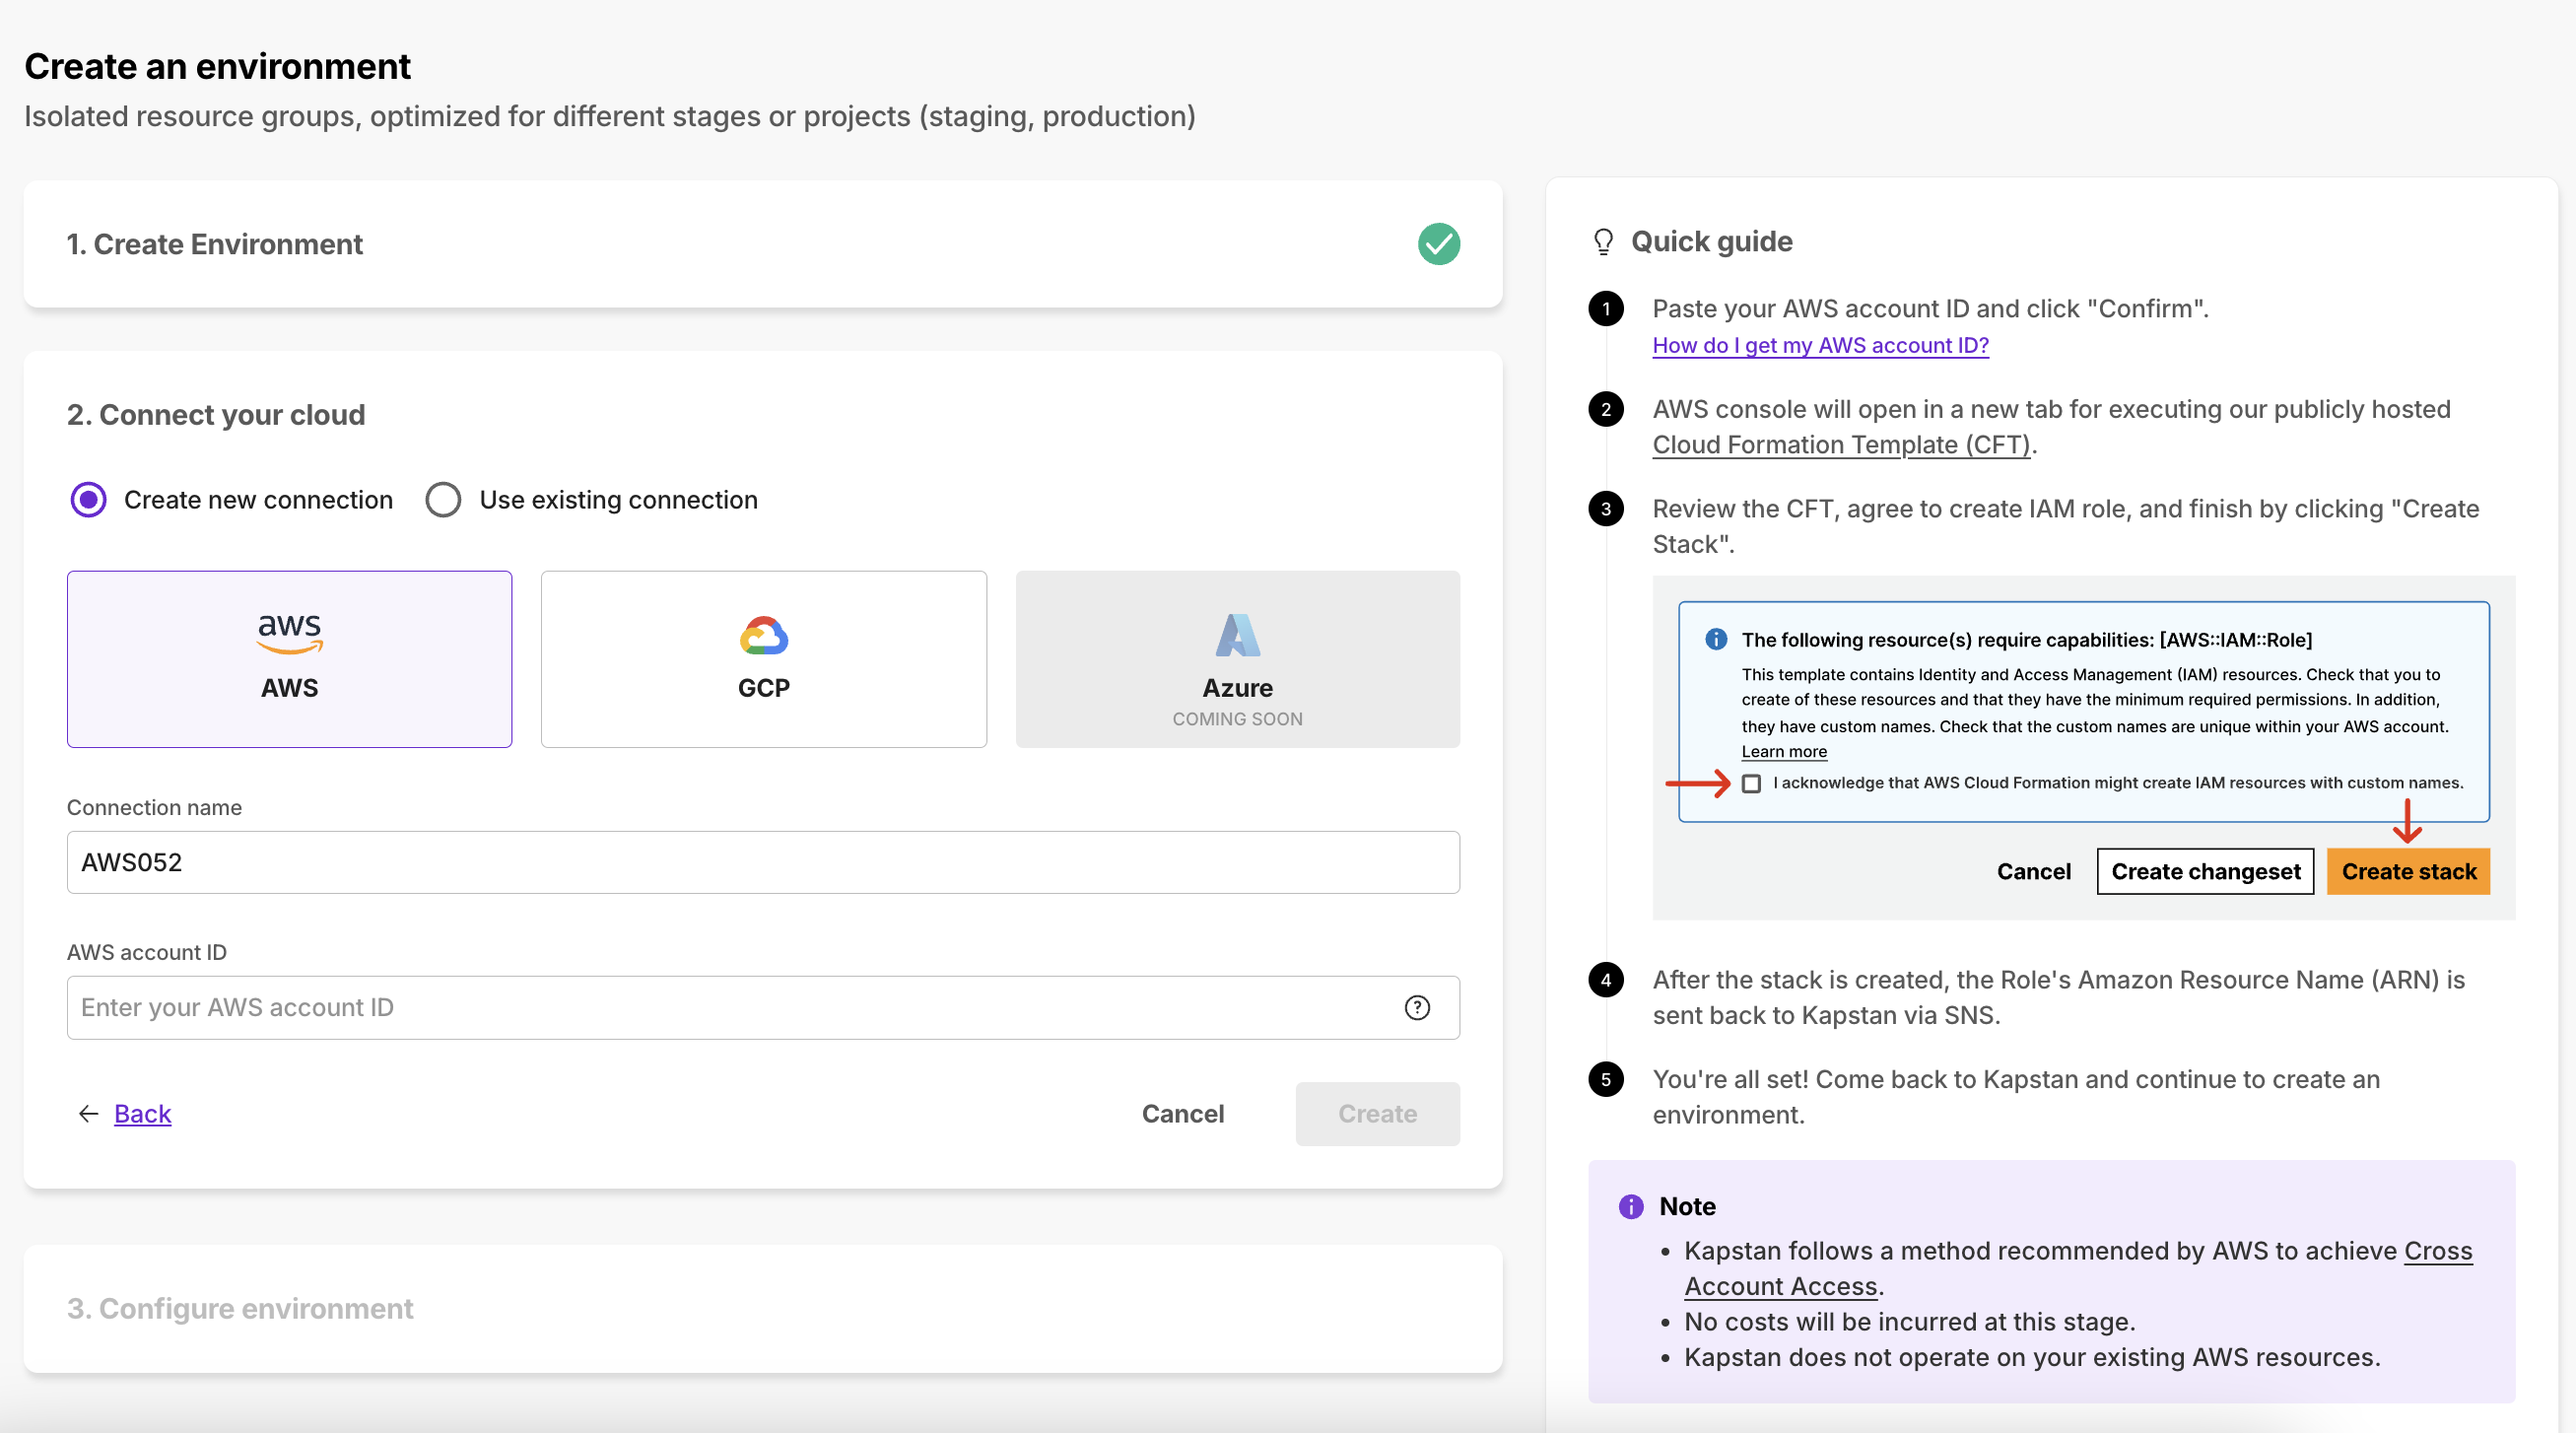
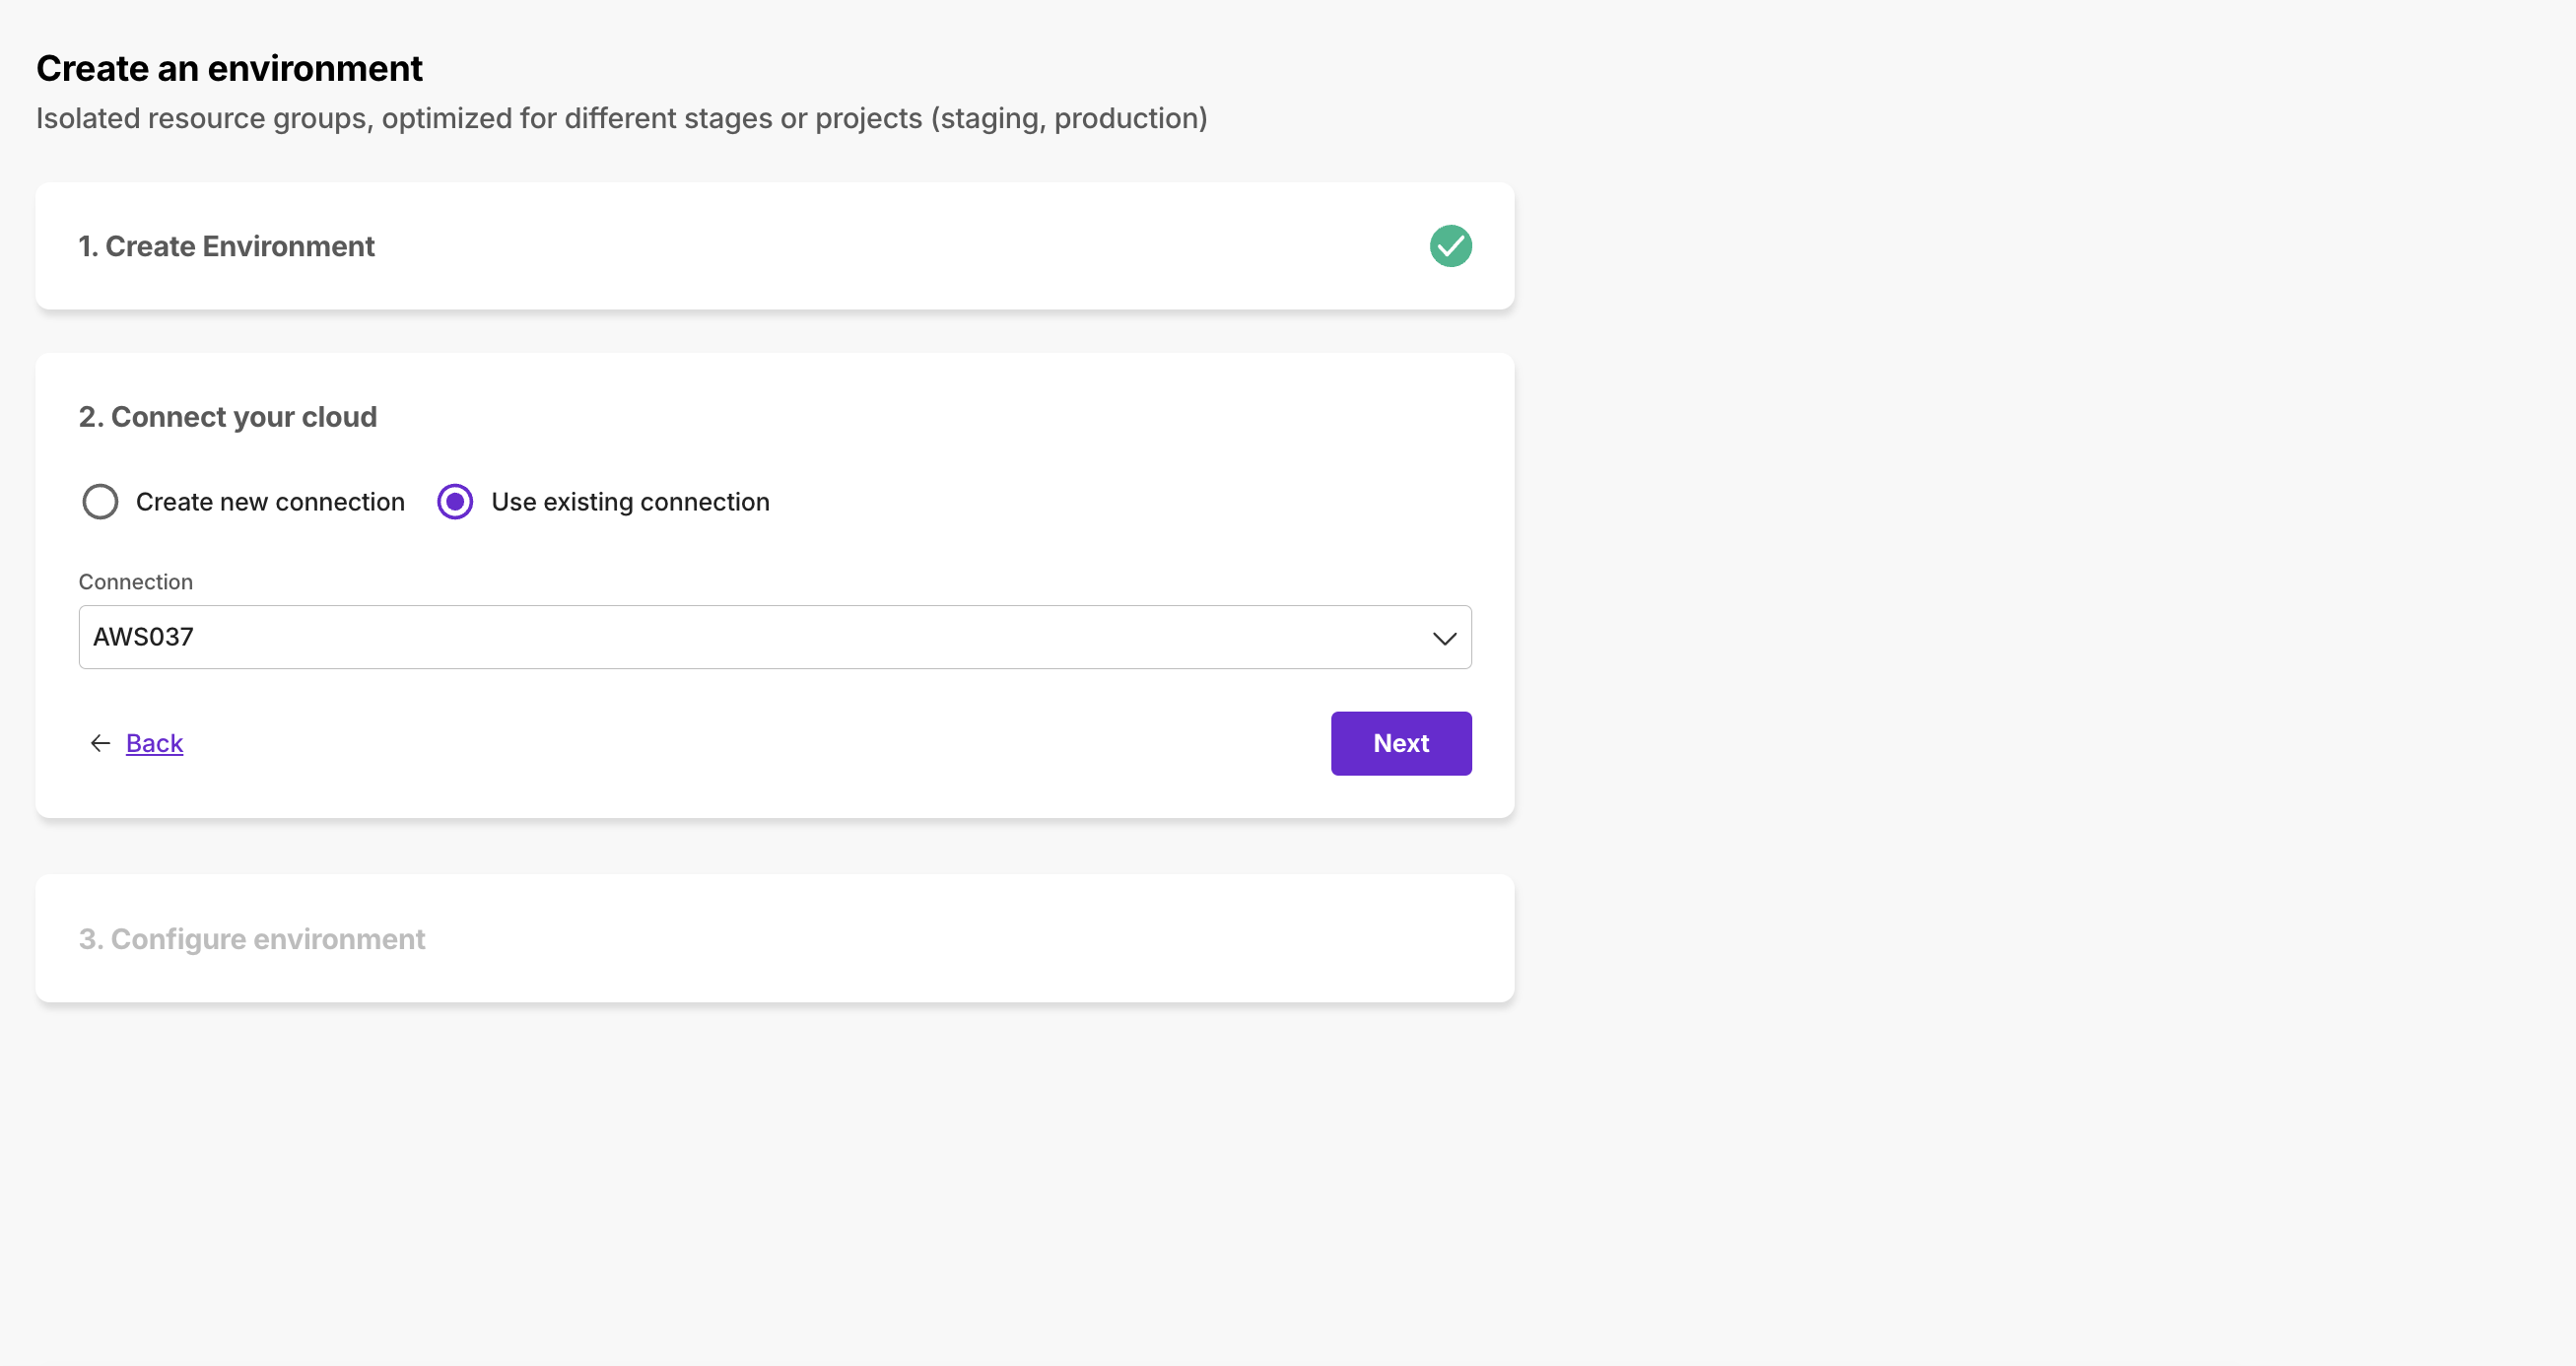
Step 2: Connect your cloud
You can either create a new cloud connection or use an existing one. Currently Kapstan supports AWS, GCP and Azure. Read more about Cloud Provider Connection.
Create a new Cloud Provider Connection
Connect with your cloud account with the help of quick guides present inline. This provides necessary permissions to Kapstan to deploy and manage resources in your account.
Use an existing Cloud Provider Connection
We do not recommend using the same cloud account for multiple environments. Separate accounts for different environments help provide isolation within your cloud account as well. It will be simpler to manage access, perform audit wrt various certifications like SOC2. However, if you need to re-use the same account, you can do so by selecting an existing connection.
Step 3: Configure Environment
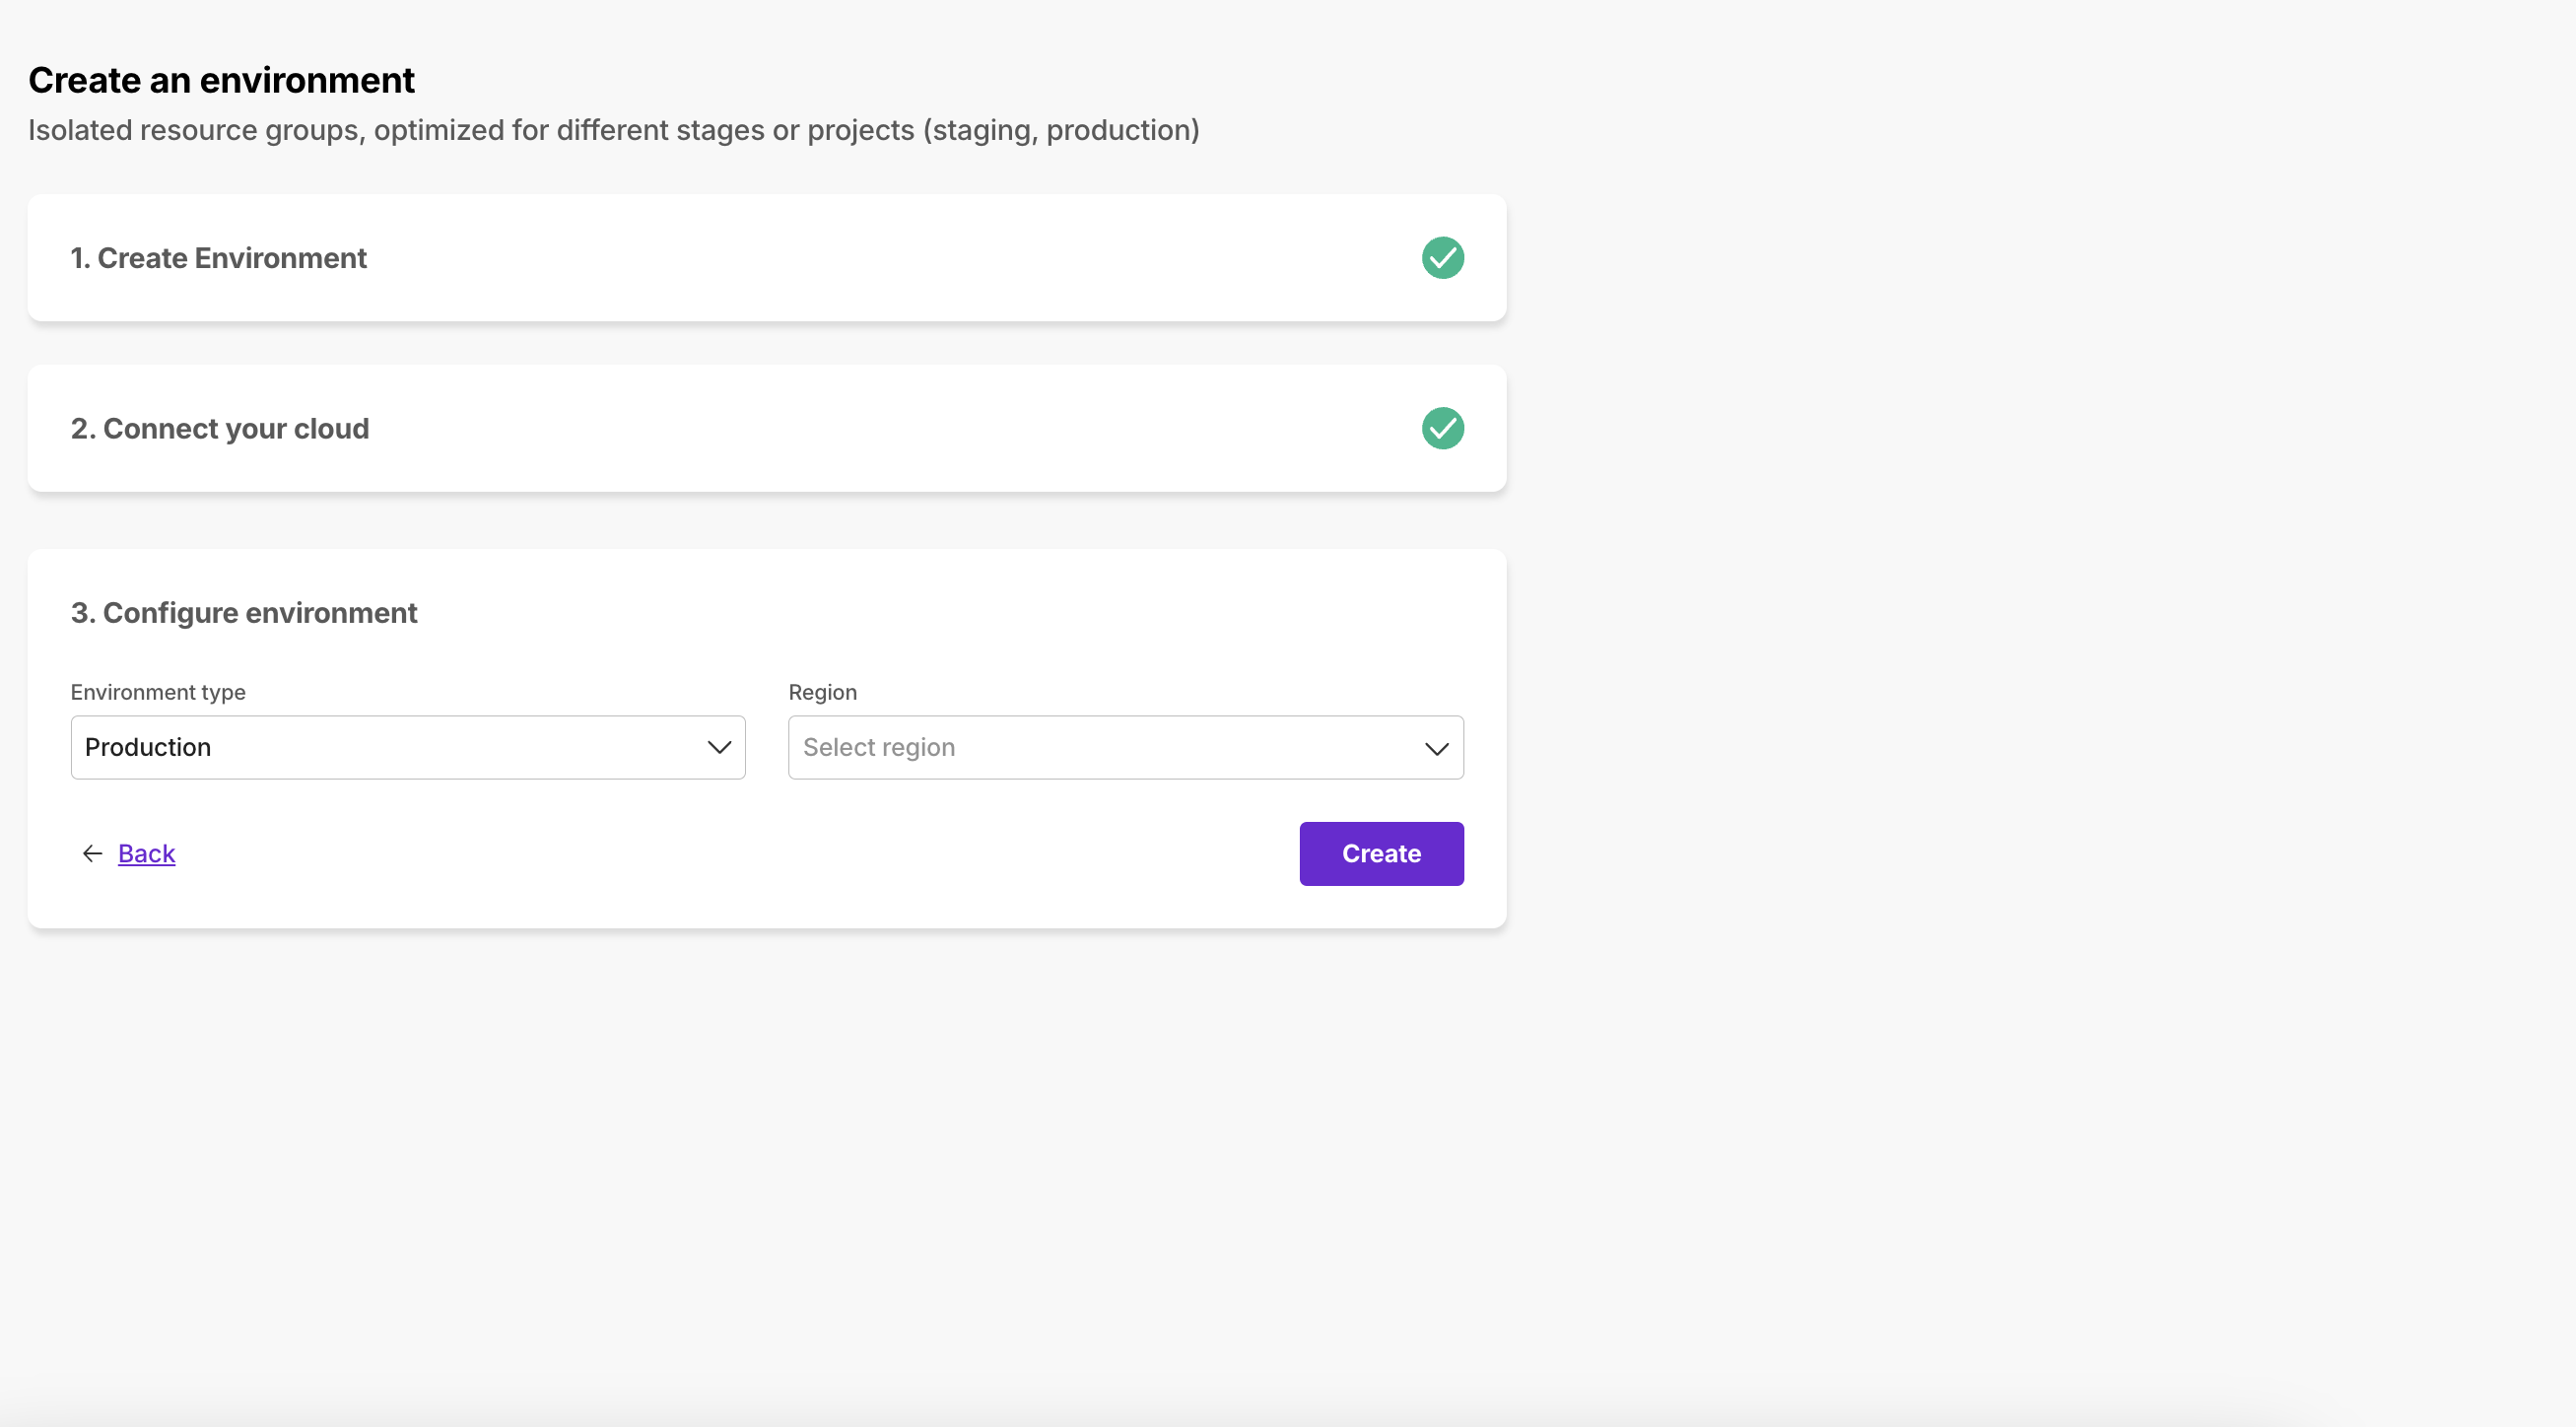
Environment Type: Kapstan provisioned staging environments are optimized for cost, while production environments are optimized for reliability and performance. Read more about Environment Types.
Region: Select the geographical region for your deployment.
The estimated cost of creating and setting up an environment is displayed. This includes the cost of virtual network and kubernetes cluster that are setup as part of the environment.
Once you click Create, your environment will be setup and ready to use in a few minutes.
