
Bring your own Kubernetes Cluster
Kapstan supports deploying in your existing K8s cluster without impacting existing configurations. To achieve this, Kapstan acquires the necessary access of subset of namespaces.
Support for GCP will be available soon.
Step 1: Create environment
- Navigate to create an environment page.
- Select the “Deploy in your Kubernetes cluster" option.
- Provide a meaningful name to reference your environment.
- Click
Nextto proceed.
Step 2: Connect your cloud
To connect your Kubernetes cluster with Kapstan, ensure the cloud account where the cluster is deployed is linked to Kapstan.
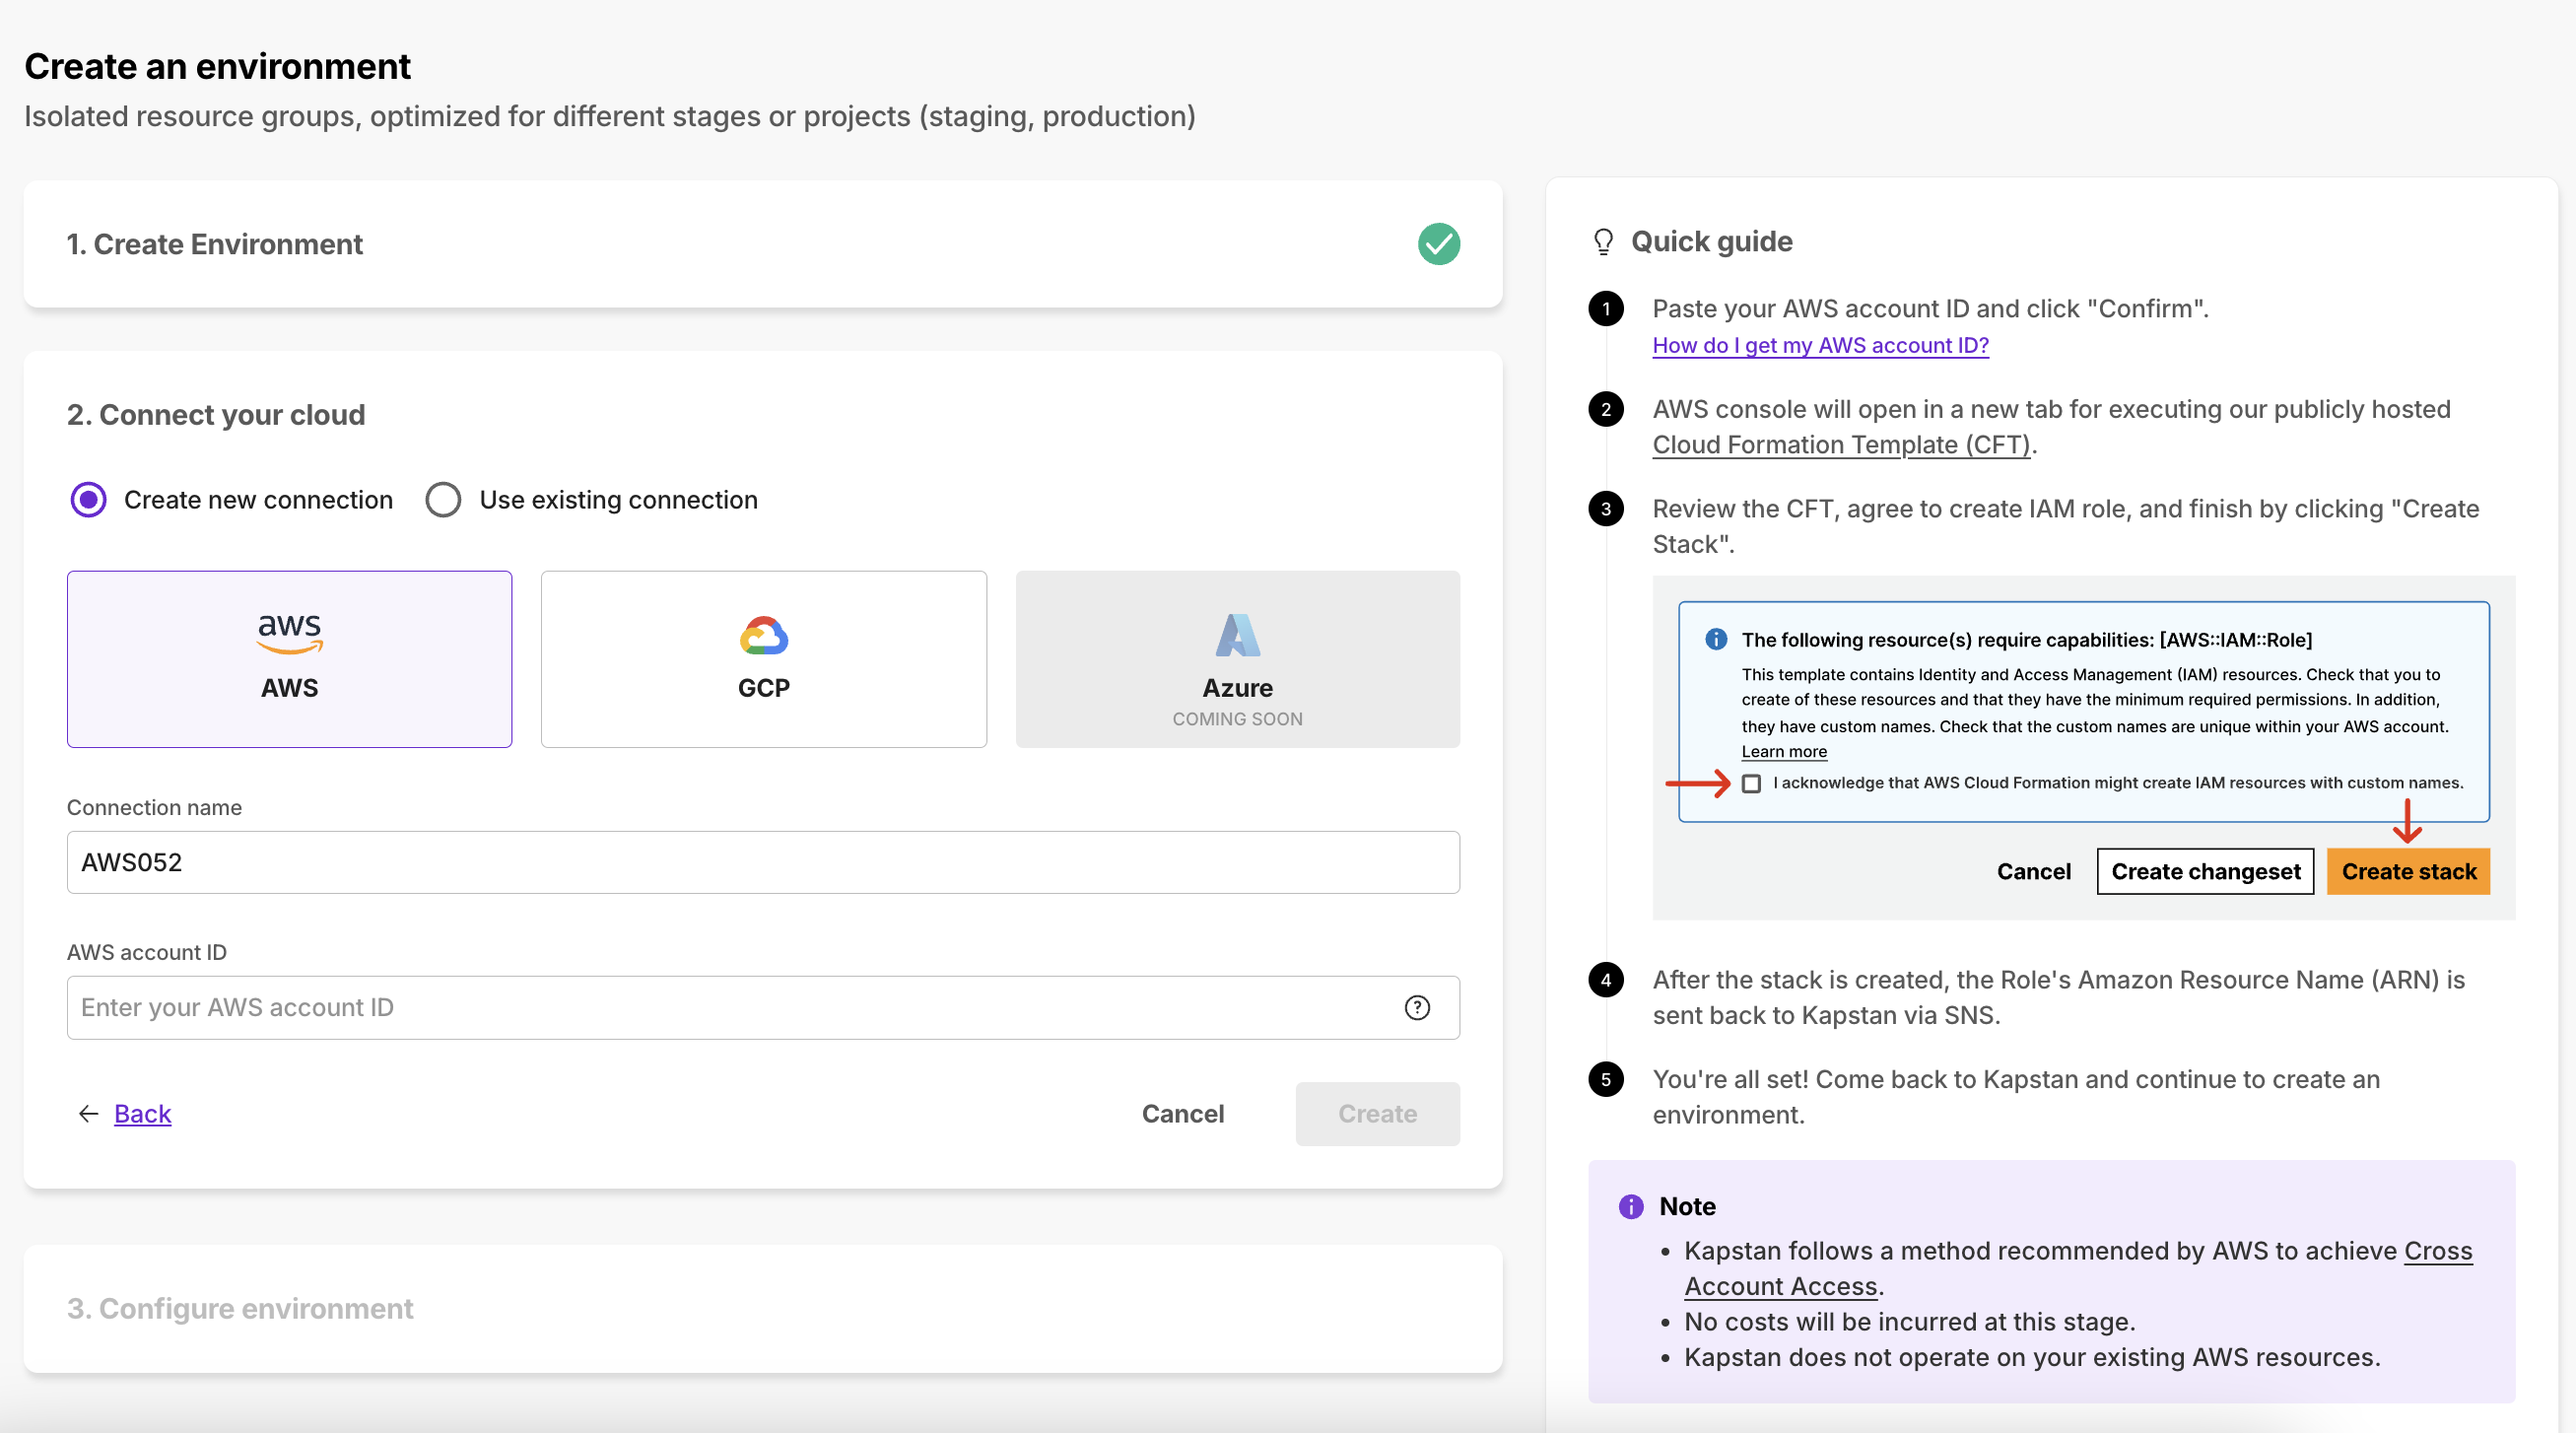
Create a new Cloud Provider Connection
Connect with your AWS account with the help of quick guides present inline. This creates an IAM role that provides necessary permissions to Kapstan to access and manage the kubernetes cluster.
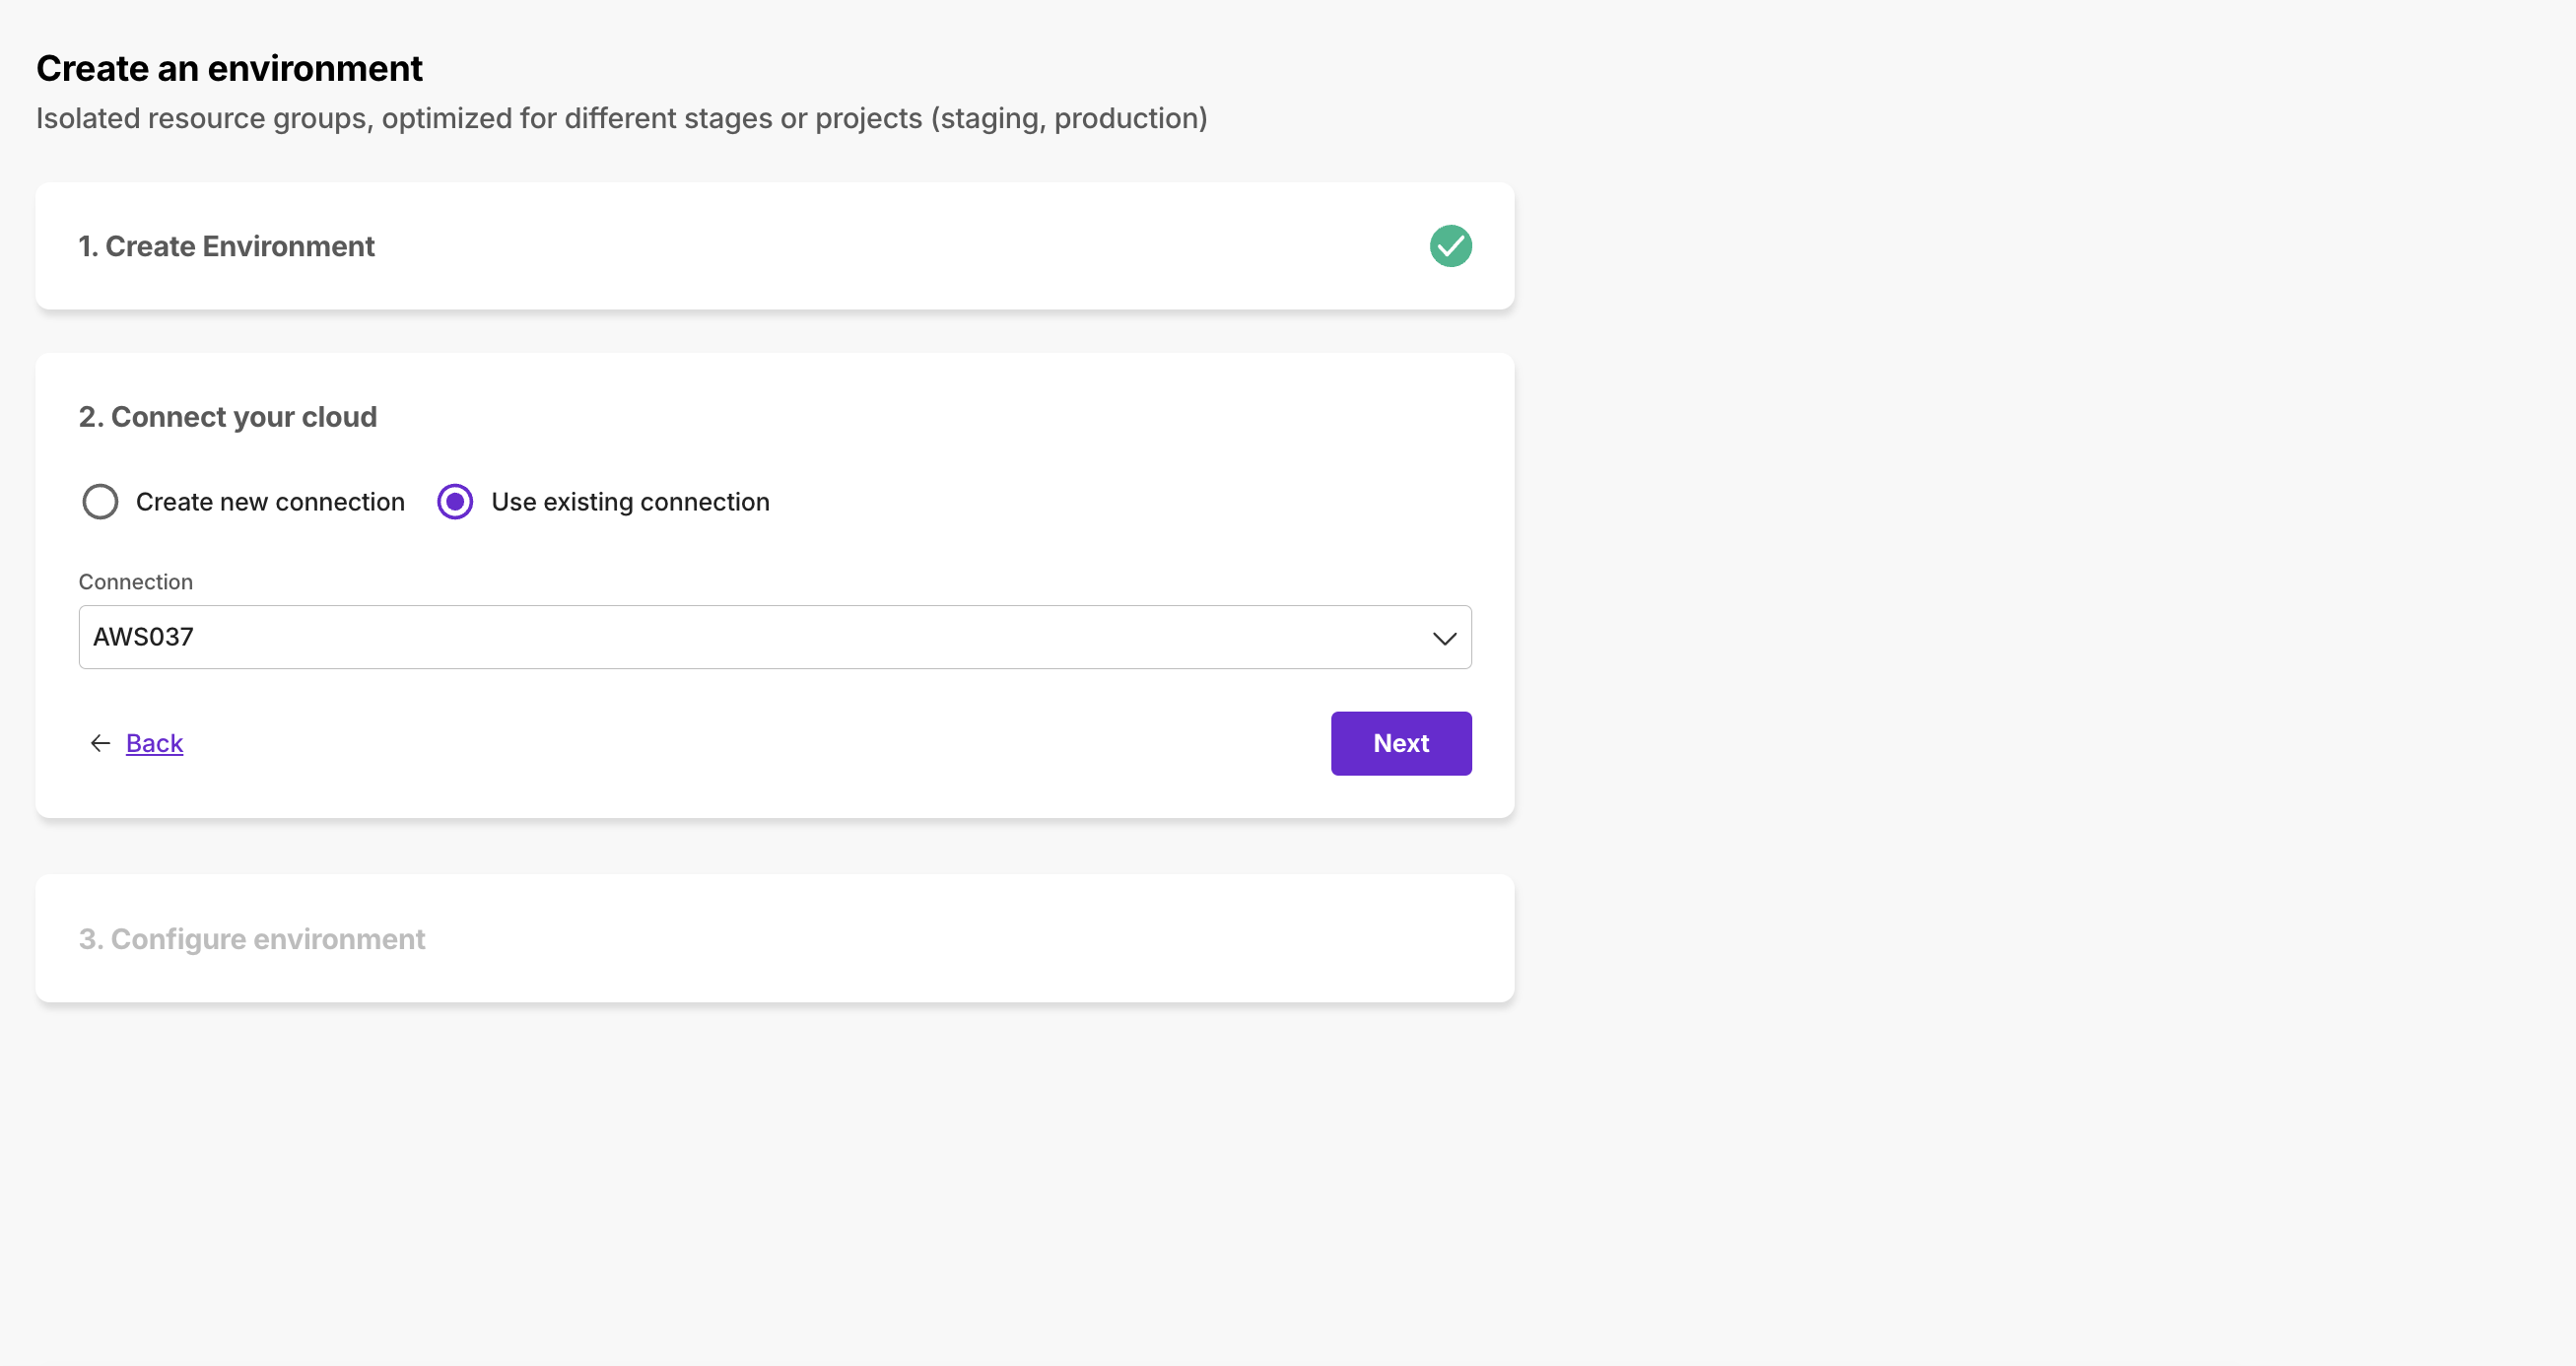
Use an existing Cloud Provider Connection
We do not recommend using the same cloud account for multiple environments. Separate accounts for different environments help provide isolation. It will be simpler to manage access and perform compliance exercises. However, if you have multiple clusters within the same cloud account, you can link the existing cloud connection with this environment.
Step 3: Configure Environment
3.1 Connect to your EKS cluster from your local machine.
3.2 Update your Terraform configuration with the following to allow Kapstan to access your EKS cluster.
resource "kubernetes_cluster_role" "example" {
  metadata {
    name = "namespace-creators"
  }

  rule {
    api_groups = [""]
    resources  = ["namespaces"]
    verbs      = ["create", "get", "list", "watch"]
  }
}

resource "kubernetes_cluster_role_binding" "example" {
  metadata {
    name = "namespace-creator-binding"
  }
  role_ref {
    api_group = "rbac.authorization.k8s.io"
    kind      = "ClusterRole"
    name      = "namespace-creators"
  }
  subject {
    kind = "Group"
    name = "namespace-admins"
    api_group = "rbac.authorization.k8s.io"
  }
}

resource "aws_eks_access_entry" "example" {
  cluster_name      = <cluster-name>
  principal_arn     = <principal-arn-of-established-cloud-connection>
  kubernetes_groups = ["namespace-admins"]
  type              = "STANDARD"
}

resource "aws_eks_access_policy_association" "example" {
  cluster_name      = <cluster-name>
  policy_arn    = "arn:aws:eks::aws:cluster-access-policy/AmazonEKSClusterAdminPolicy"
  principal_arn     = <principal-arn-of-established-cloud-connection>
  access_scope {
  type       = "namespace"
  namespaces = ["kap-*"]
  }
}
This configuration enables seamless integration between the AWS IAM role created in step 2 and your cluster's RBAC for managing namespaces in the EKS cluster. Here’s what it achieves:
- ClusterRole for Namespace Management: Defines permissions to create, view, list, and watch namespaces in Kubernetes.
- Role Binding: Assigns these permissions to the namespace-admins group in Kubernetes.
- IAM to Kubernetes Mapping: Maps the AWS IAM principal (e.g., user or role) to the namespace-admins group, allowing authentication and access to the cluster.
- Scoped Access: Restricts the IAM principal’s permissions to managing namespaces matching a specific naming pattern (kap-*).
3.3 Select the type of environment you'd like to provision and the cluster that you just connected to.
3.4 Click on "Test connection" to verify that Kapstan has the required access to EKS cluster. Once the connection is verified, click "Create". You can now start creating new services in your Kubernetes cluster via Kapstan.
