Queue
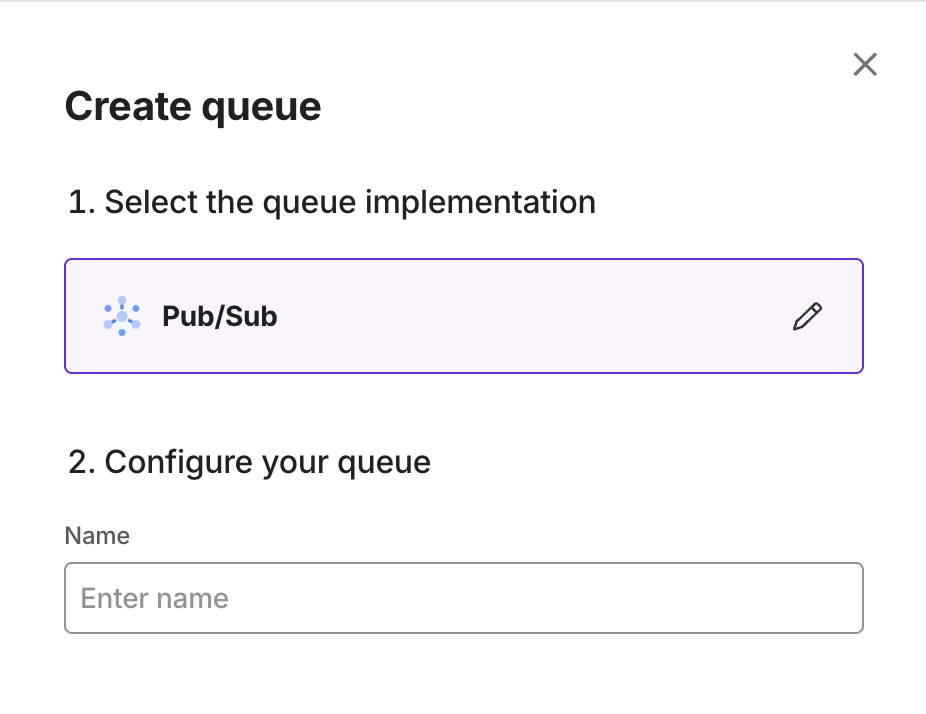
Kapstan offers simple setup for popular message queues and event streaming technologies. This page will guide you through the process of creating a new queue in your environment. Kapstan offers the following queues:
Steps to Create a Queue
- Navigate to the services overview on Kapstan.
- Click on "Create" and then on "Queue".
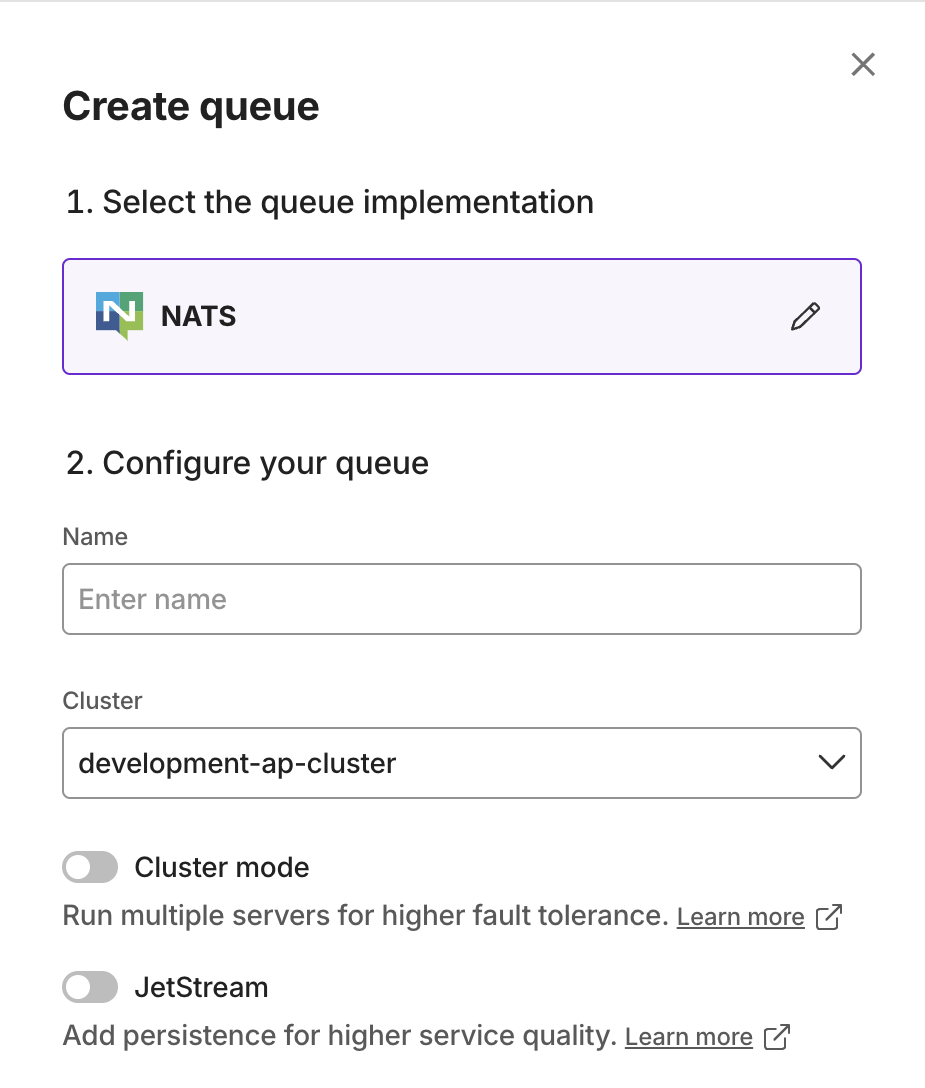
NATS
- Learn more about NATS here.
- Kapstan deploys NATS version 2.10.
- Cluster mode in NATS ensures high availability and scalability by distributing messages across multiple servers, enabling fault tolerance and load balancing.
- Jetstream provides persistent messaging, stream storage, and advanced message replay capabilities for durable and reliable event-driven systems.
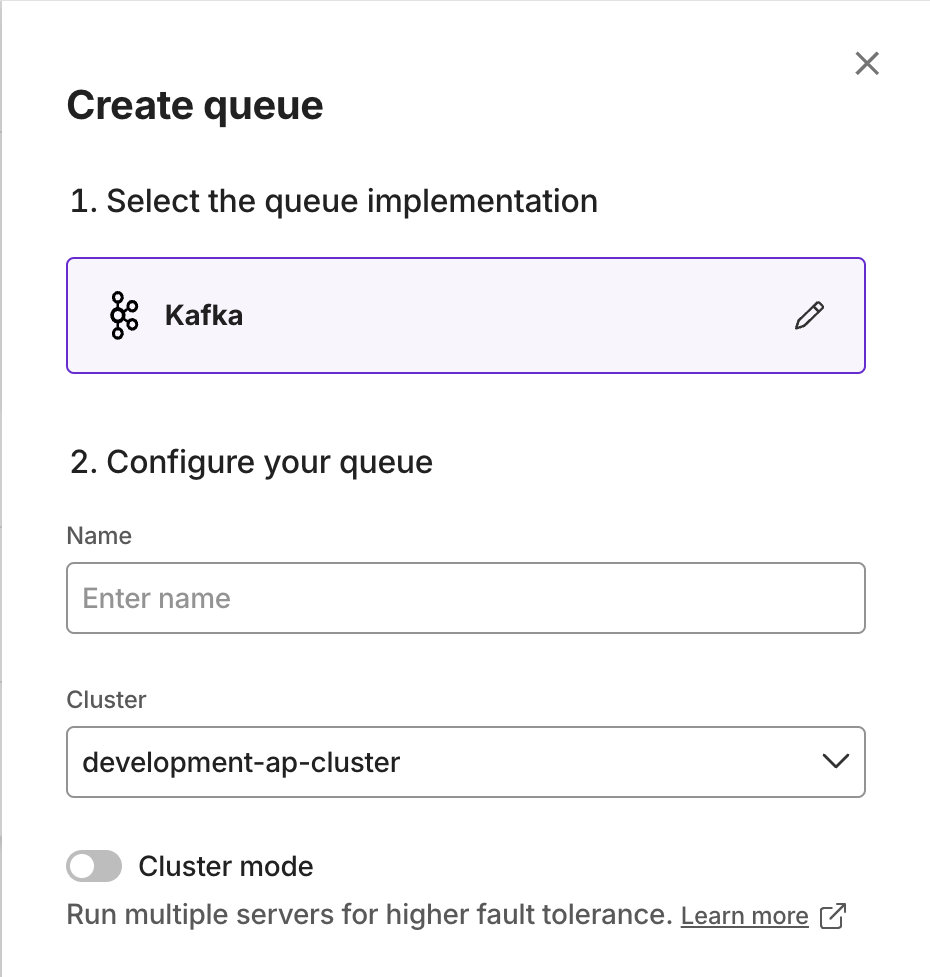
Kafka
- Learn more about Kafka here.
- Kapstan deploys Kafka version 3.6.
- Cluster mode runs multiple Kafka servers to provide fault tolerance and high availability.
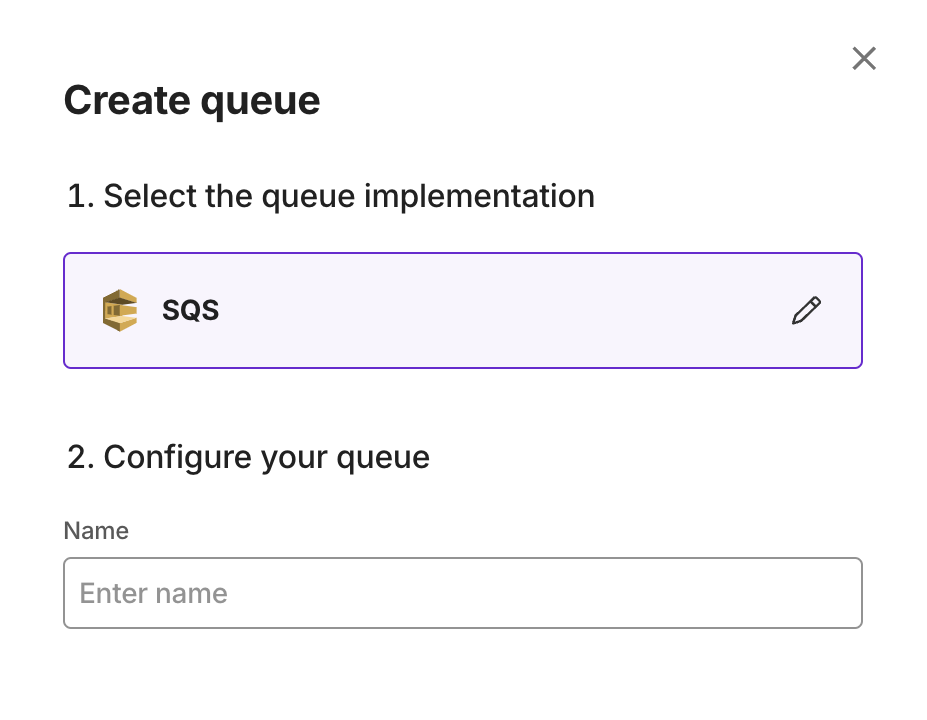
AWS SQS
- Learn more about SQS here.
- Kapstan creates a best-effort ordering queue behind the scenes. This queue comes with a default 4 days retention and without a dead-letter queue. 100% ordering is not guaranteed. Learn more
GCP Pub/Sub
- Learn more about GCP Pub/Sub here.
- Kapstan creates a best-effort ordering queue behind the scenes. This queue comes with a default 30 days retention and without a dead-letter queue. 100% ordering is not guaranteed. Learn more
Connecting to your Queue
You can connect to the queue using attributes provided in details view.
Example
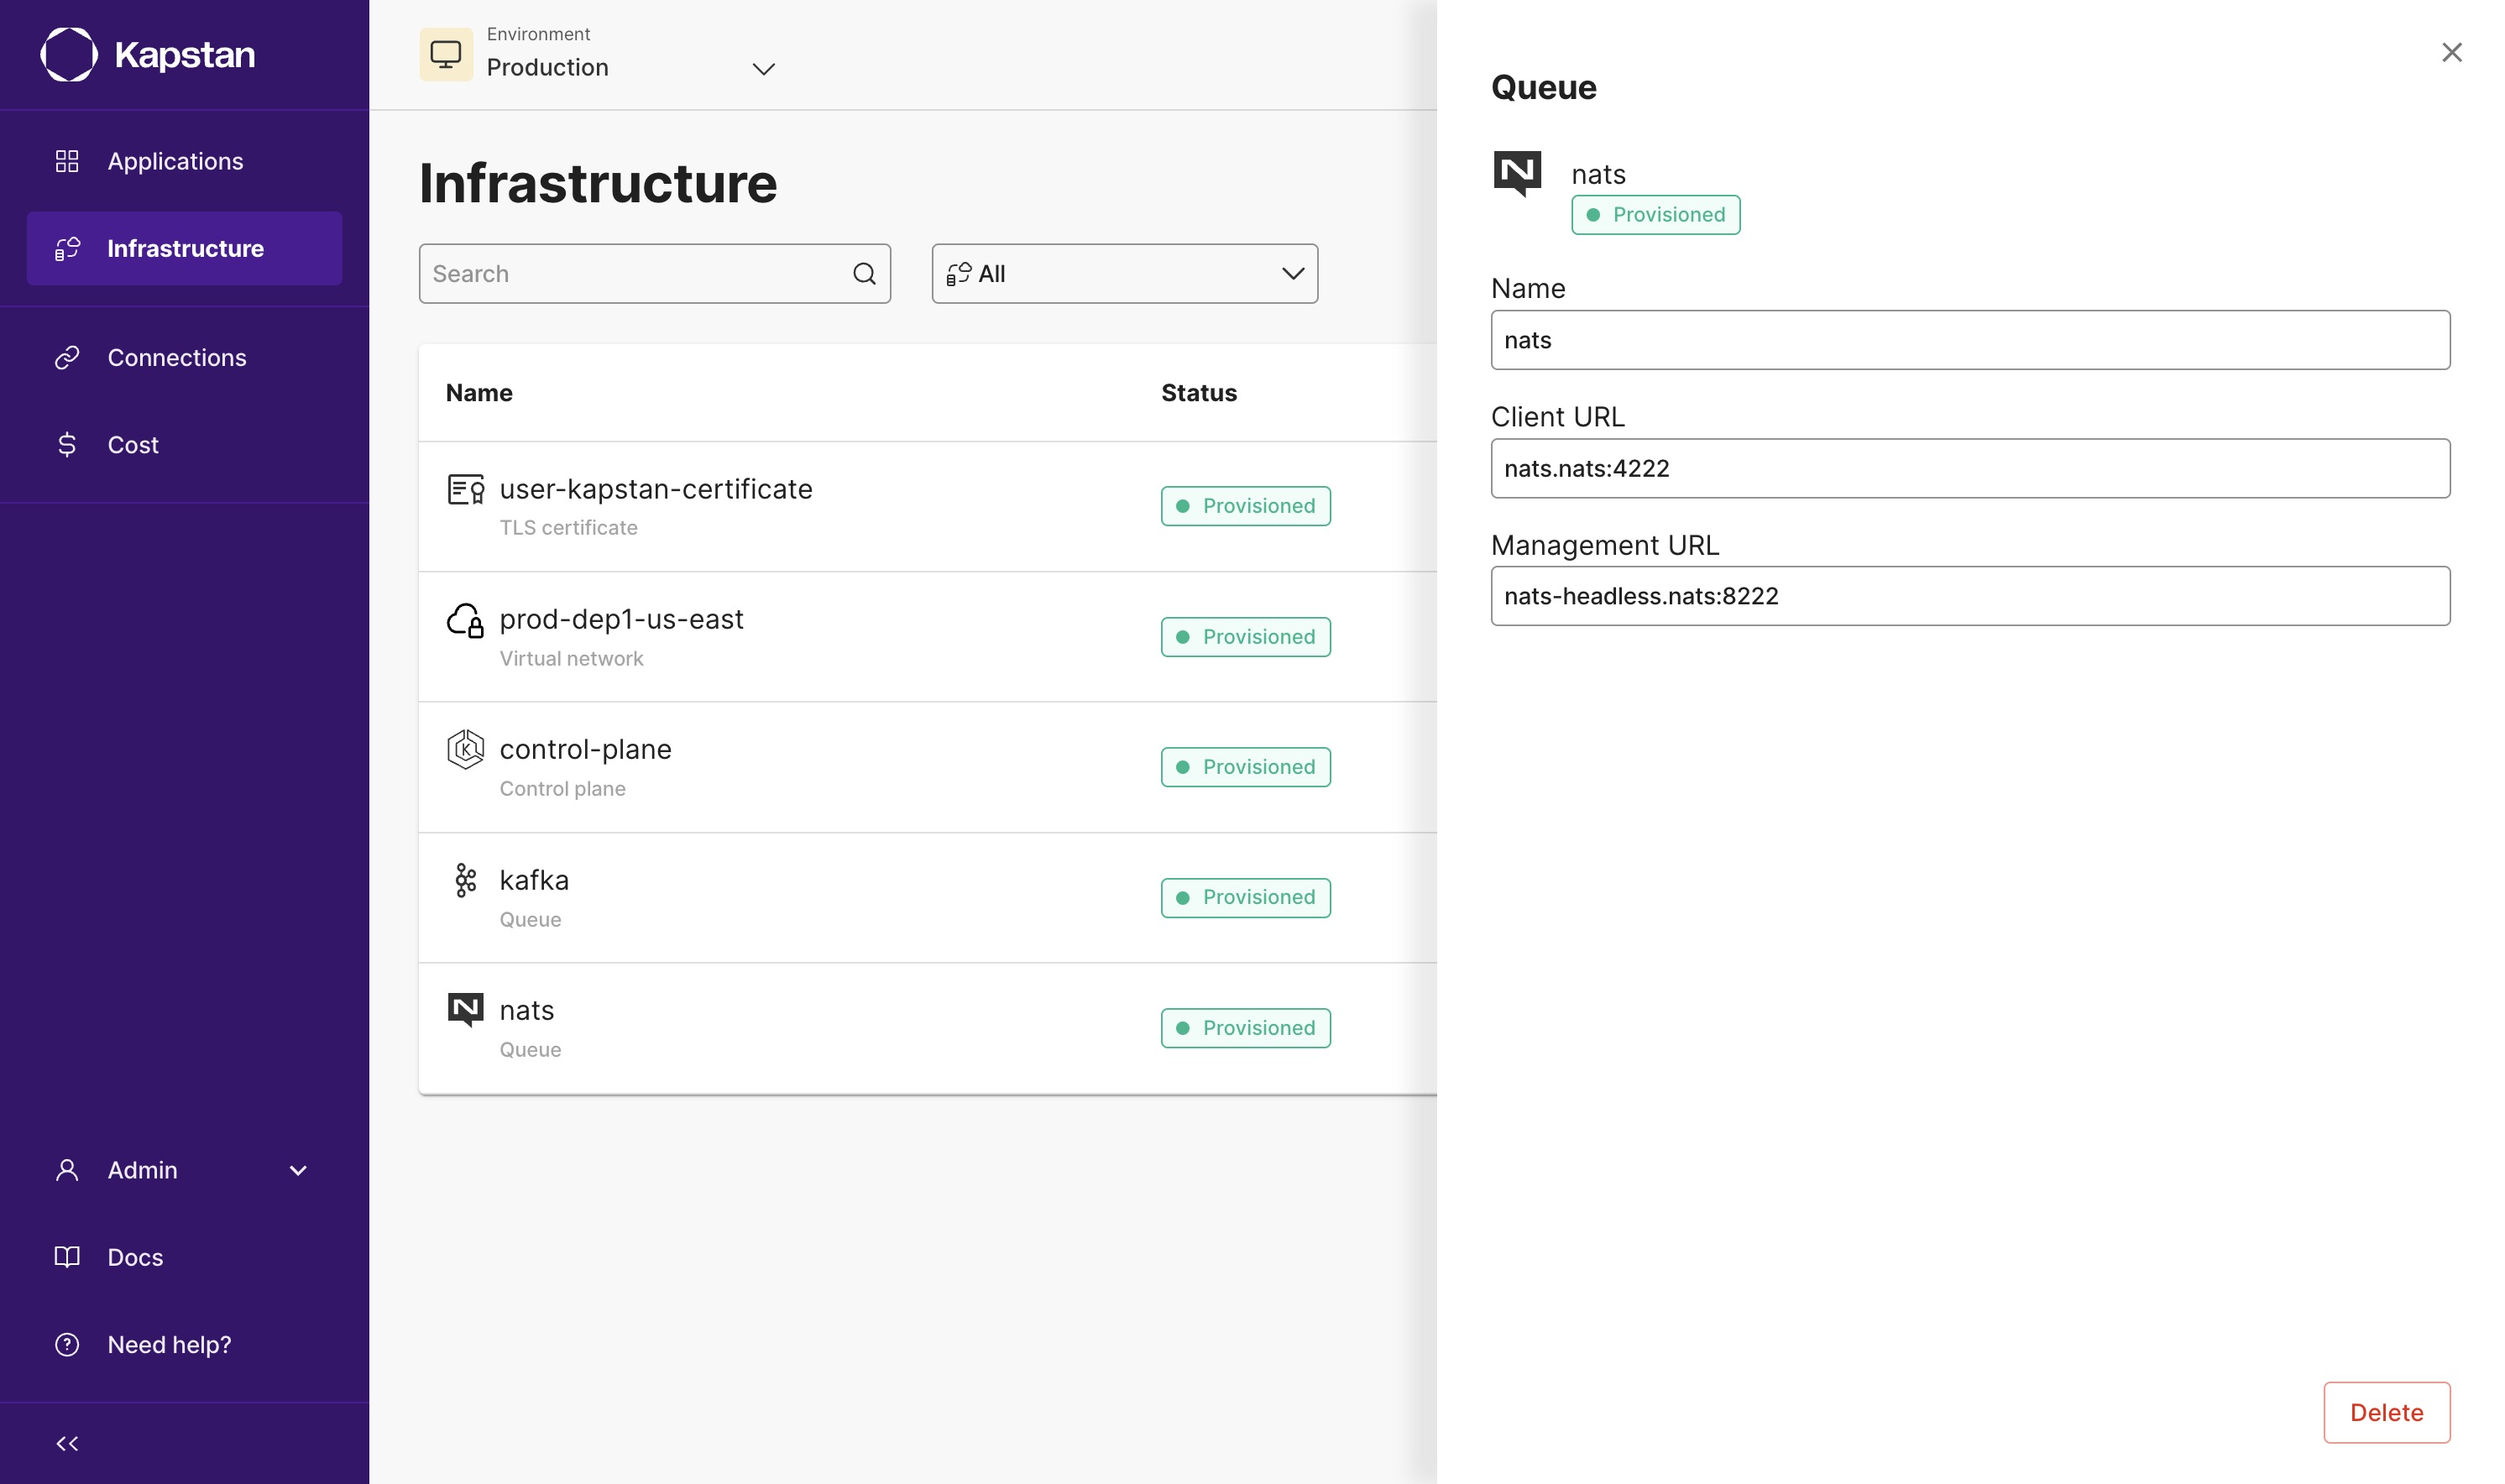
We will use the following sample app that will connect to the NATS queue. This app creates two subscribers:
- One subscriber listens to the "foo.1" subject
- The other one listens to all subjects that start with "foo."
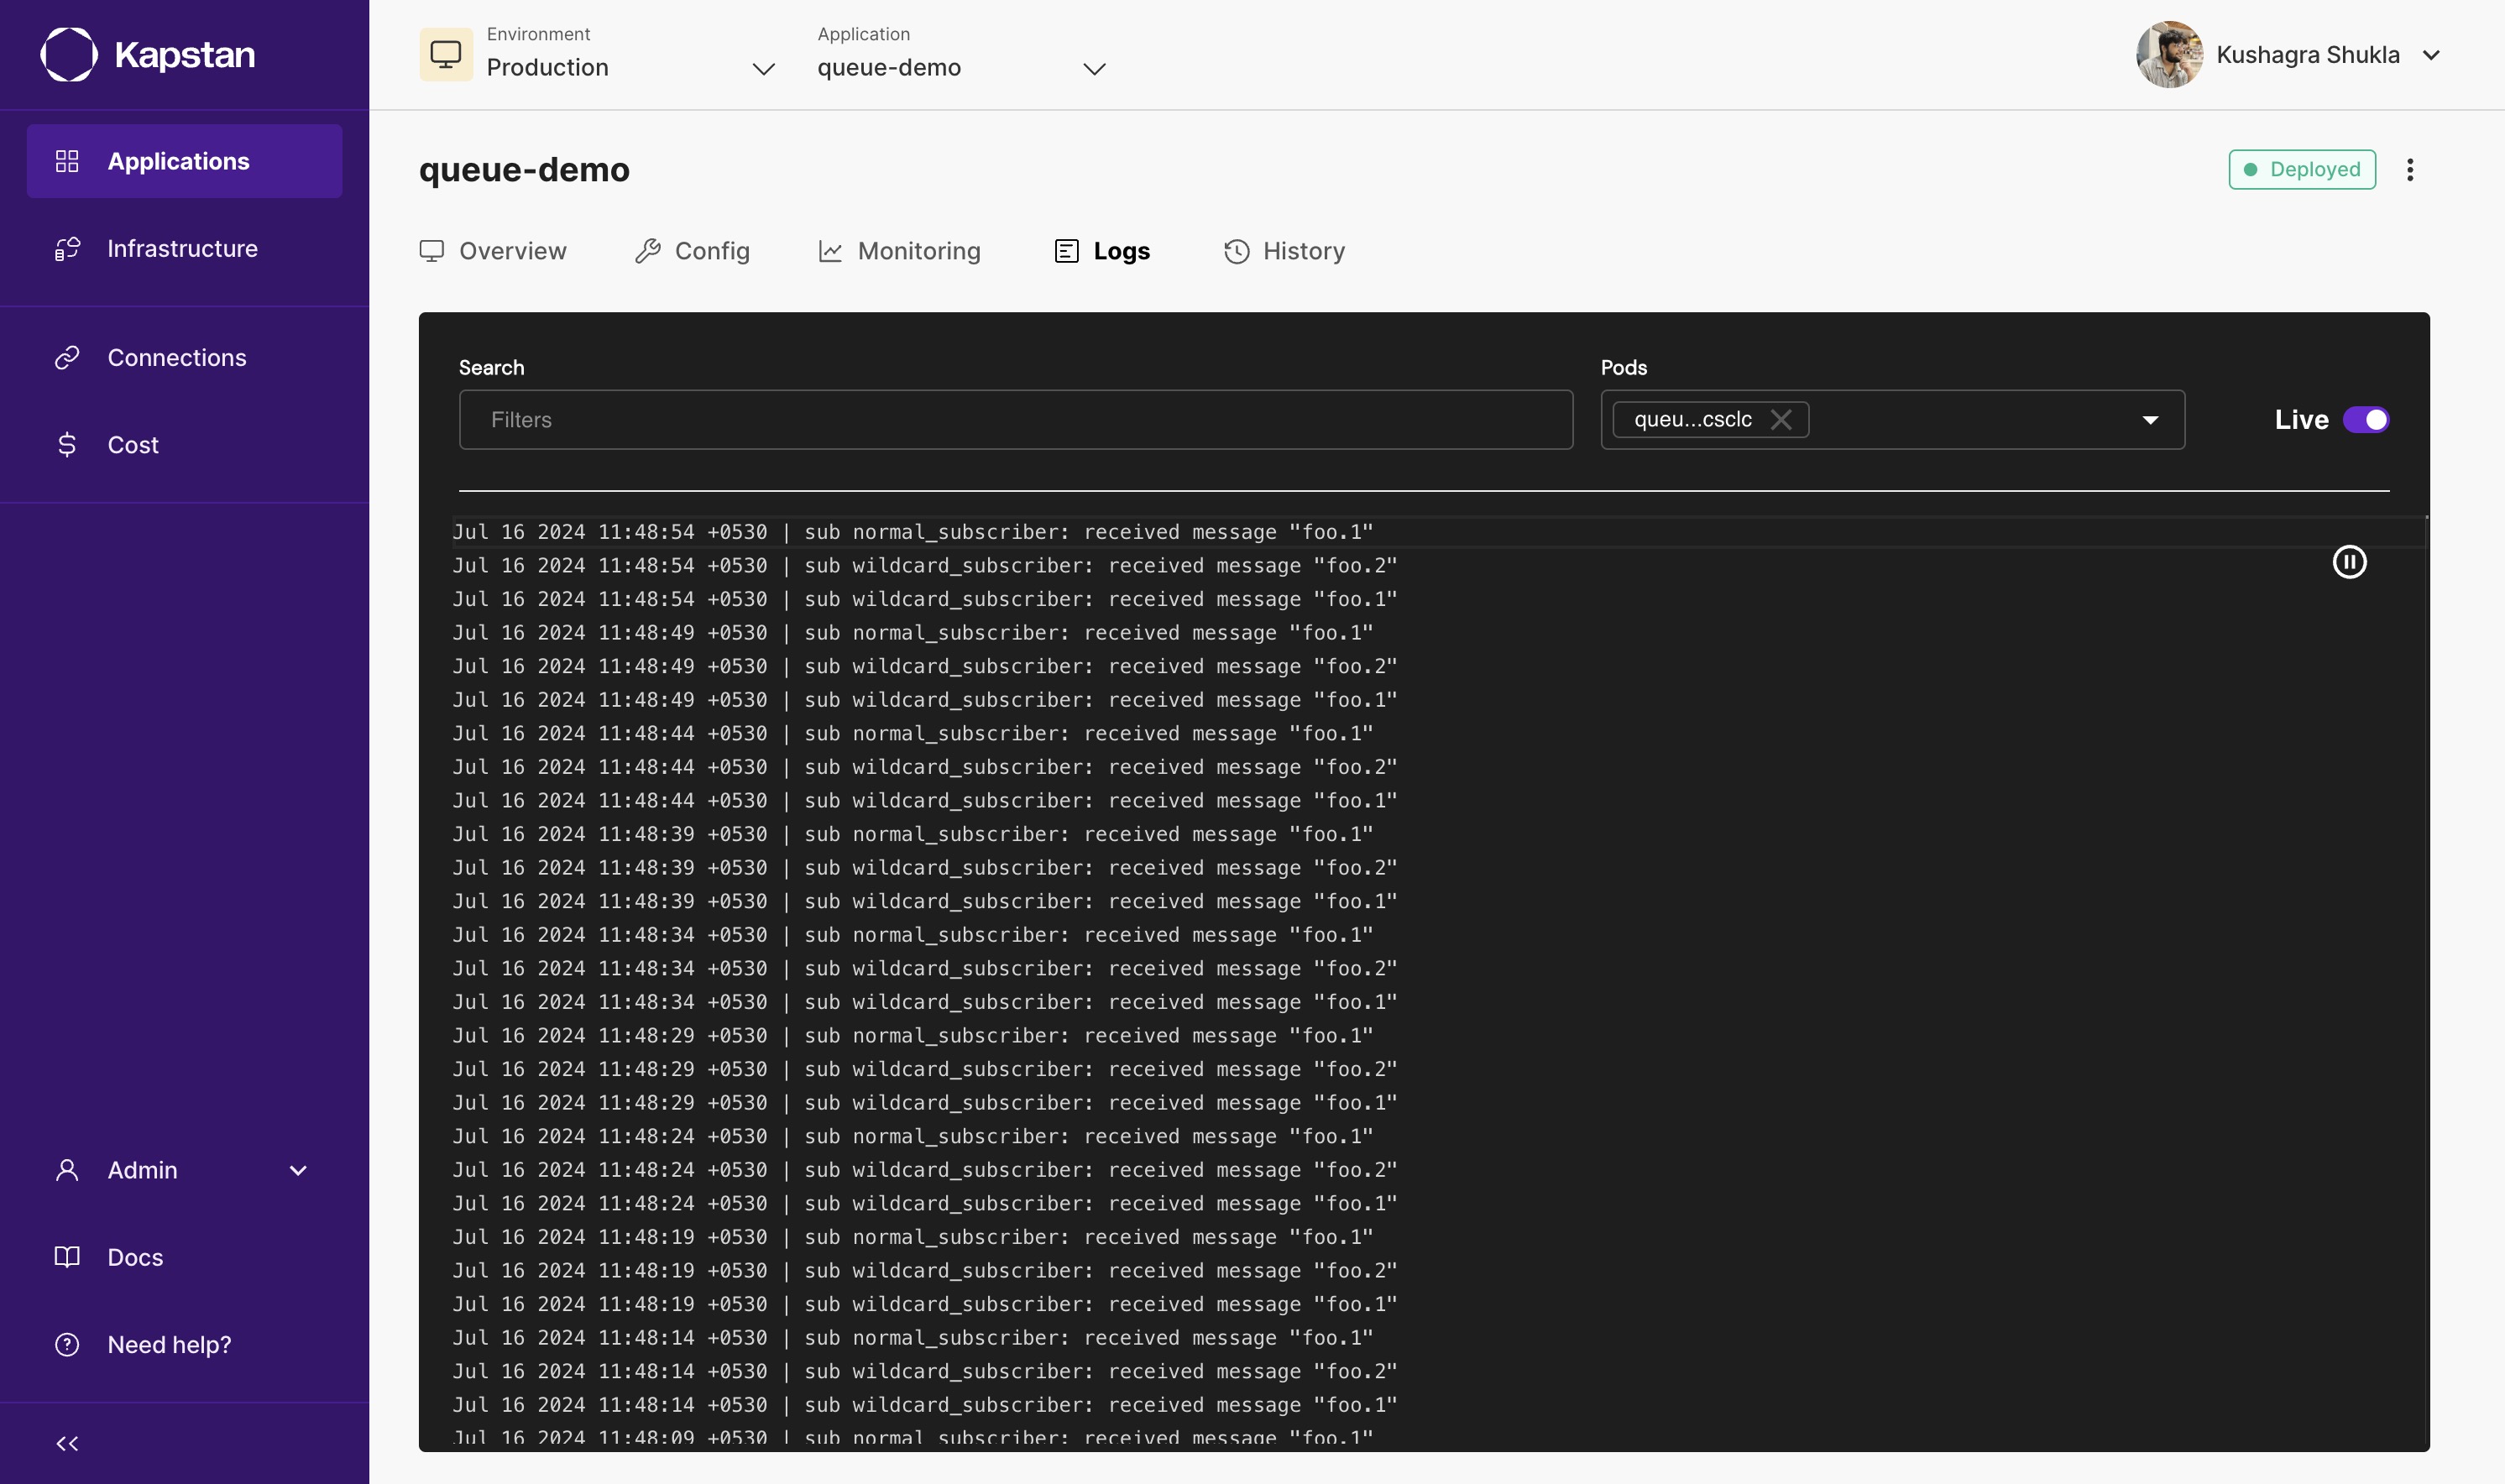
It will then publish a message to the "foo.1" and "foo.2" subjects every 5 seconds. You can download a zip file containing the code along with a Dockerfile to build a container image from here.
Sample application code
package main

import (
	"fmt"
	"github.com/nats-io/nats.go"
	"log"
	"os"
	"time"
)

func main() {
	nc, err := nats.Connect(os.Getenv("NATS_SERVER_URL"))
	if err != nil {
		log.Panic(err)
	}

	defer nc.Drain()

	subscribe(nc, "normal_subscriber", "foo.1")
	subscribe(nc, "wildcard_subscriber", "foo.*")
	ticker := time.NewTicker(5 * time.Second)

	for {
		select {
		case <-ticker.C:
			err = nc.Publish("foo.1", []byte("Hello World"))
			if err != nil {
				log.Panic(err)
			}

			err = nc.Publish("foo.2", []byte("Hello World"))
			if err != nil {
				log.Panic(err)
			}
		}
	}

}

func subscribe(client *nats.Conn, name, subject string) {
	_, err := client.Subscribe(subject, func(msg *nats.Msg) {
		fmt.Printf("sub %s: received message %q\n", name, msg.Subject)
	})

	if err != nil {
		log.Panic(err)
	}
}
Configure and deploy the application:
- Create a container image with the sample code provided here.
- Push the image to the container registry of your choice. Read more about how to connect your container registry to Kapstan here.
- Create a new application in Kapstan with the image you just created.
- Add an environment variable called
NATS_SERVER_URLwith the value ofClient URLfrom NATS details view. - Deploy the application.
- Check application logs to verify that the application is now connected to the queue.
