Tutorial: Deploying Nginx with Kapstan
This tutorial offers a practical, hands-on approach to deploying a docker Nginx image on your AWS EKS cluster using Kapstan. It will take you through each step required to deploy an Nginx image. Here are the list of steps we will follow:
- Login and create an organization
- Create an environment
- Deploy Nginx
- See It in Action
Login
- Log into your Kapstan account. Create an Organization or join in an existing one by an invite.
Environment Setup
Once connection creation is successful, we proceed with environment creation.
-
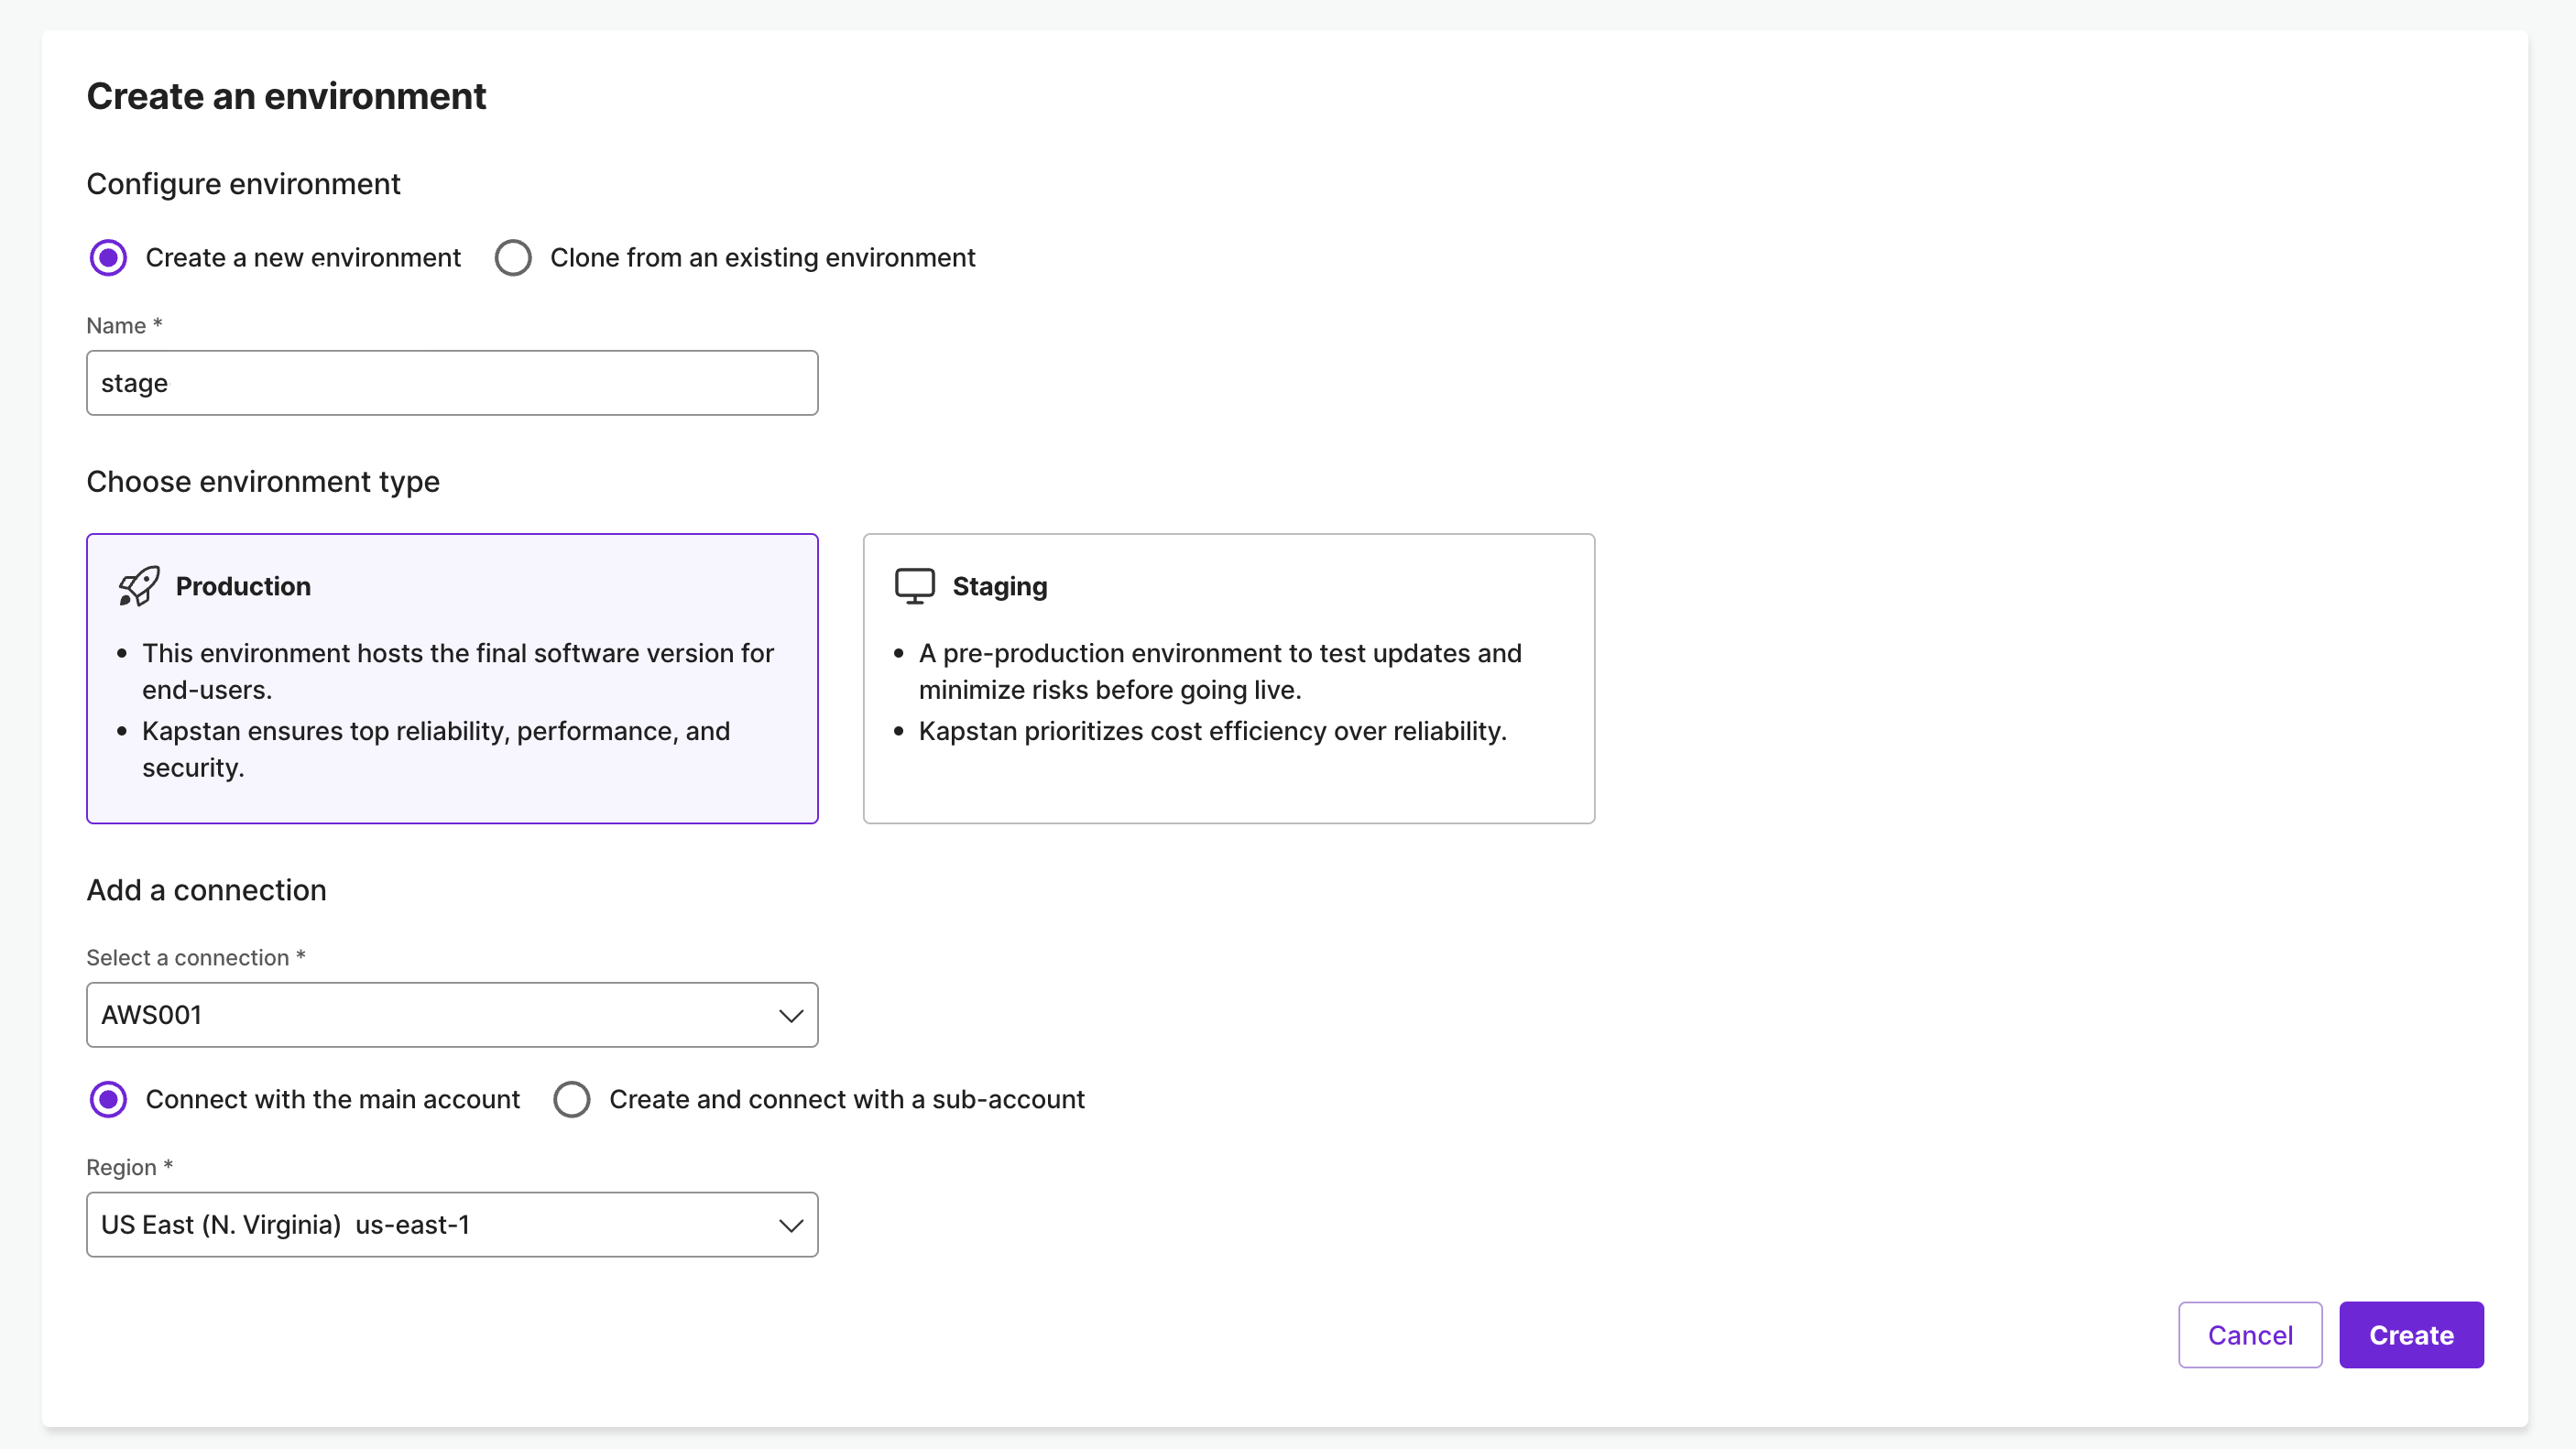
You will be prompted to create an environment as a next step. Alternatively, click here to create a new environment. Read more about environments here.

-
Provide the following information:
- Environment Name: Give it a unique name; e.g. nginx-tutorial.
- Environment Type: Choose desired type between Staging and Production environment.
- Connection: Choose the cloud provider connection you've set up.
- Region: Select the geographical region for your deployment.
Once you provide the above information, click on "Create" to create the new environment. An environment with a virtual network and kubernetes cluster will be setup.
Deploy Nginx
Create Application
- Navigate to the Applications on Kapstan.
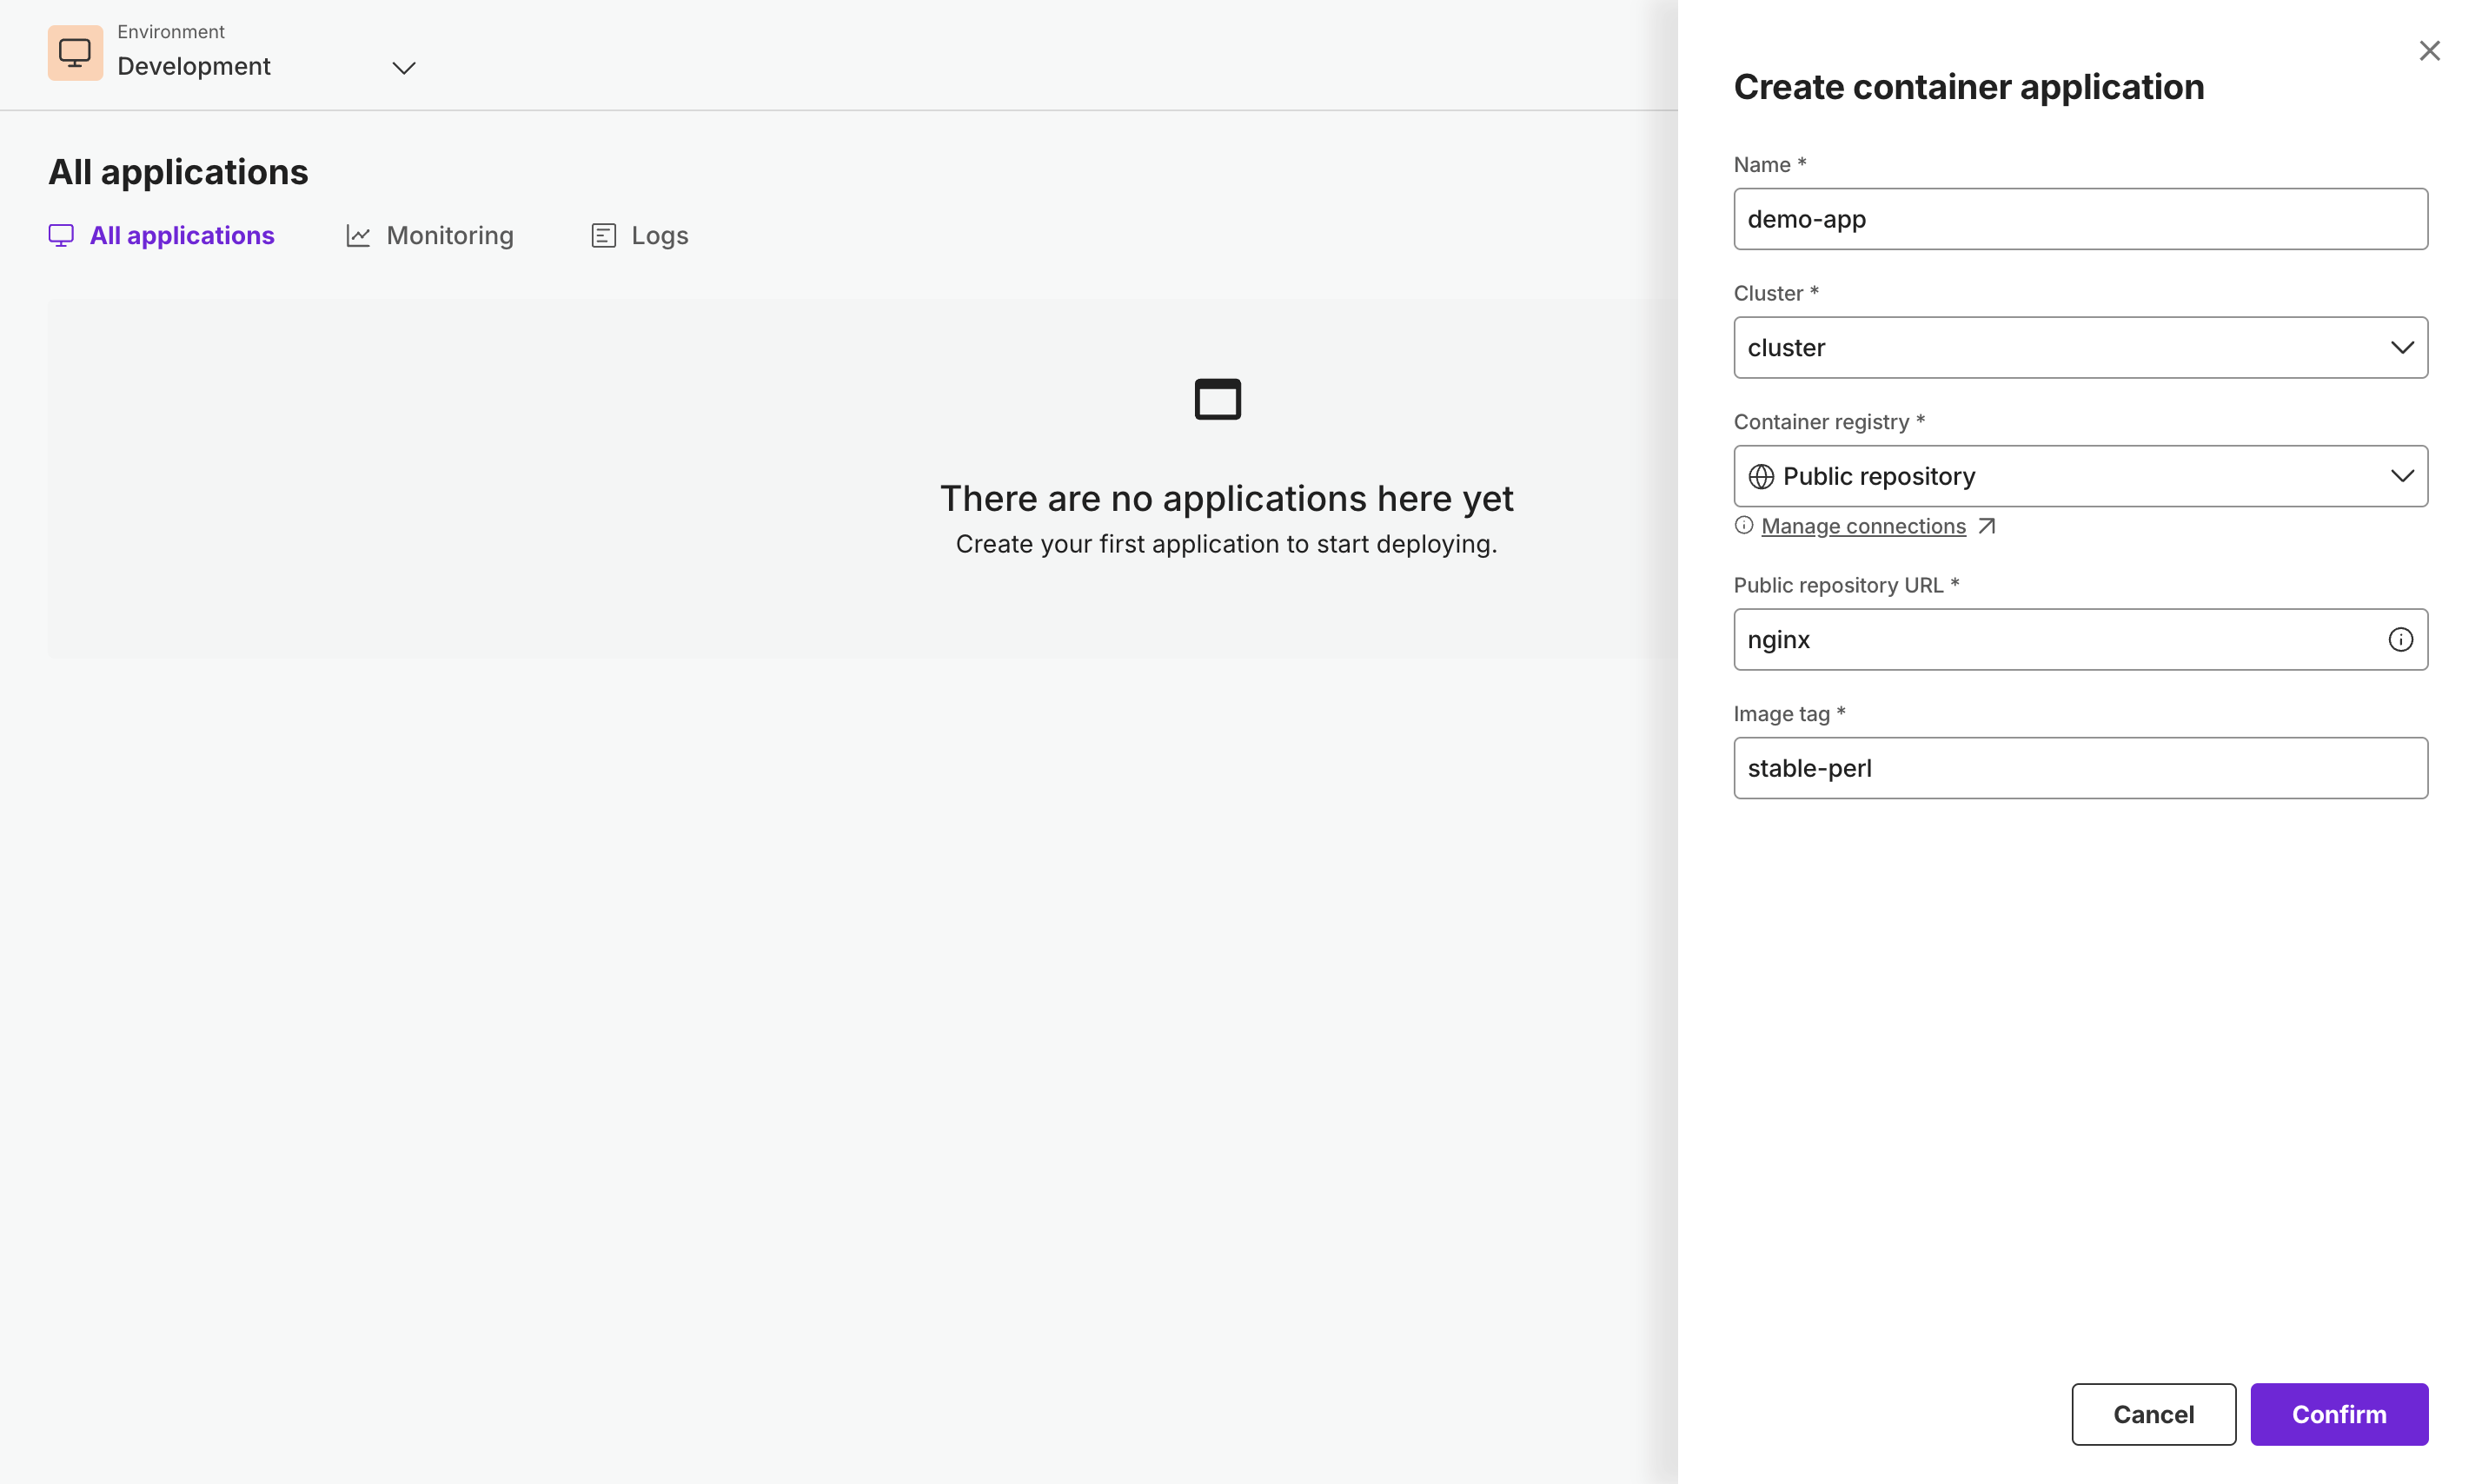
- Open create application menu and select 'Container'.

- Fill in the following details:
- Display Name: Provide a name for your custom application. e.g. nginx-app.
- Cluster: Select the Kubernetes Cluster which you just created from the dropdown.
- Choose
Public Repositoryin "Container registry" and fillnginxin the "Public repository URL". - Select a desired image tag.
- Submit the form and the application will be created.
Deploy Container in your Application
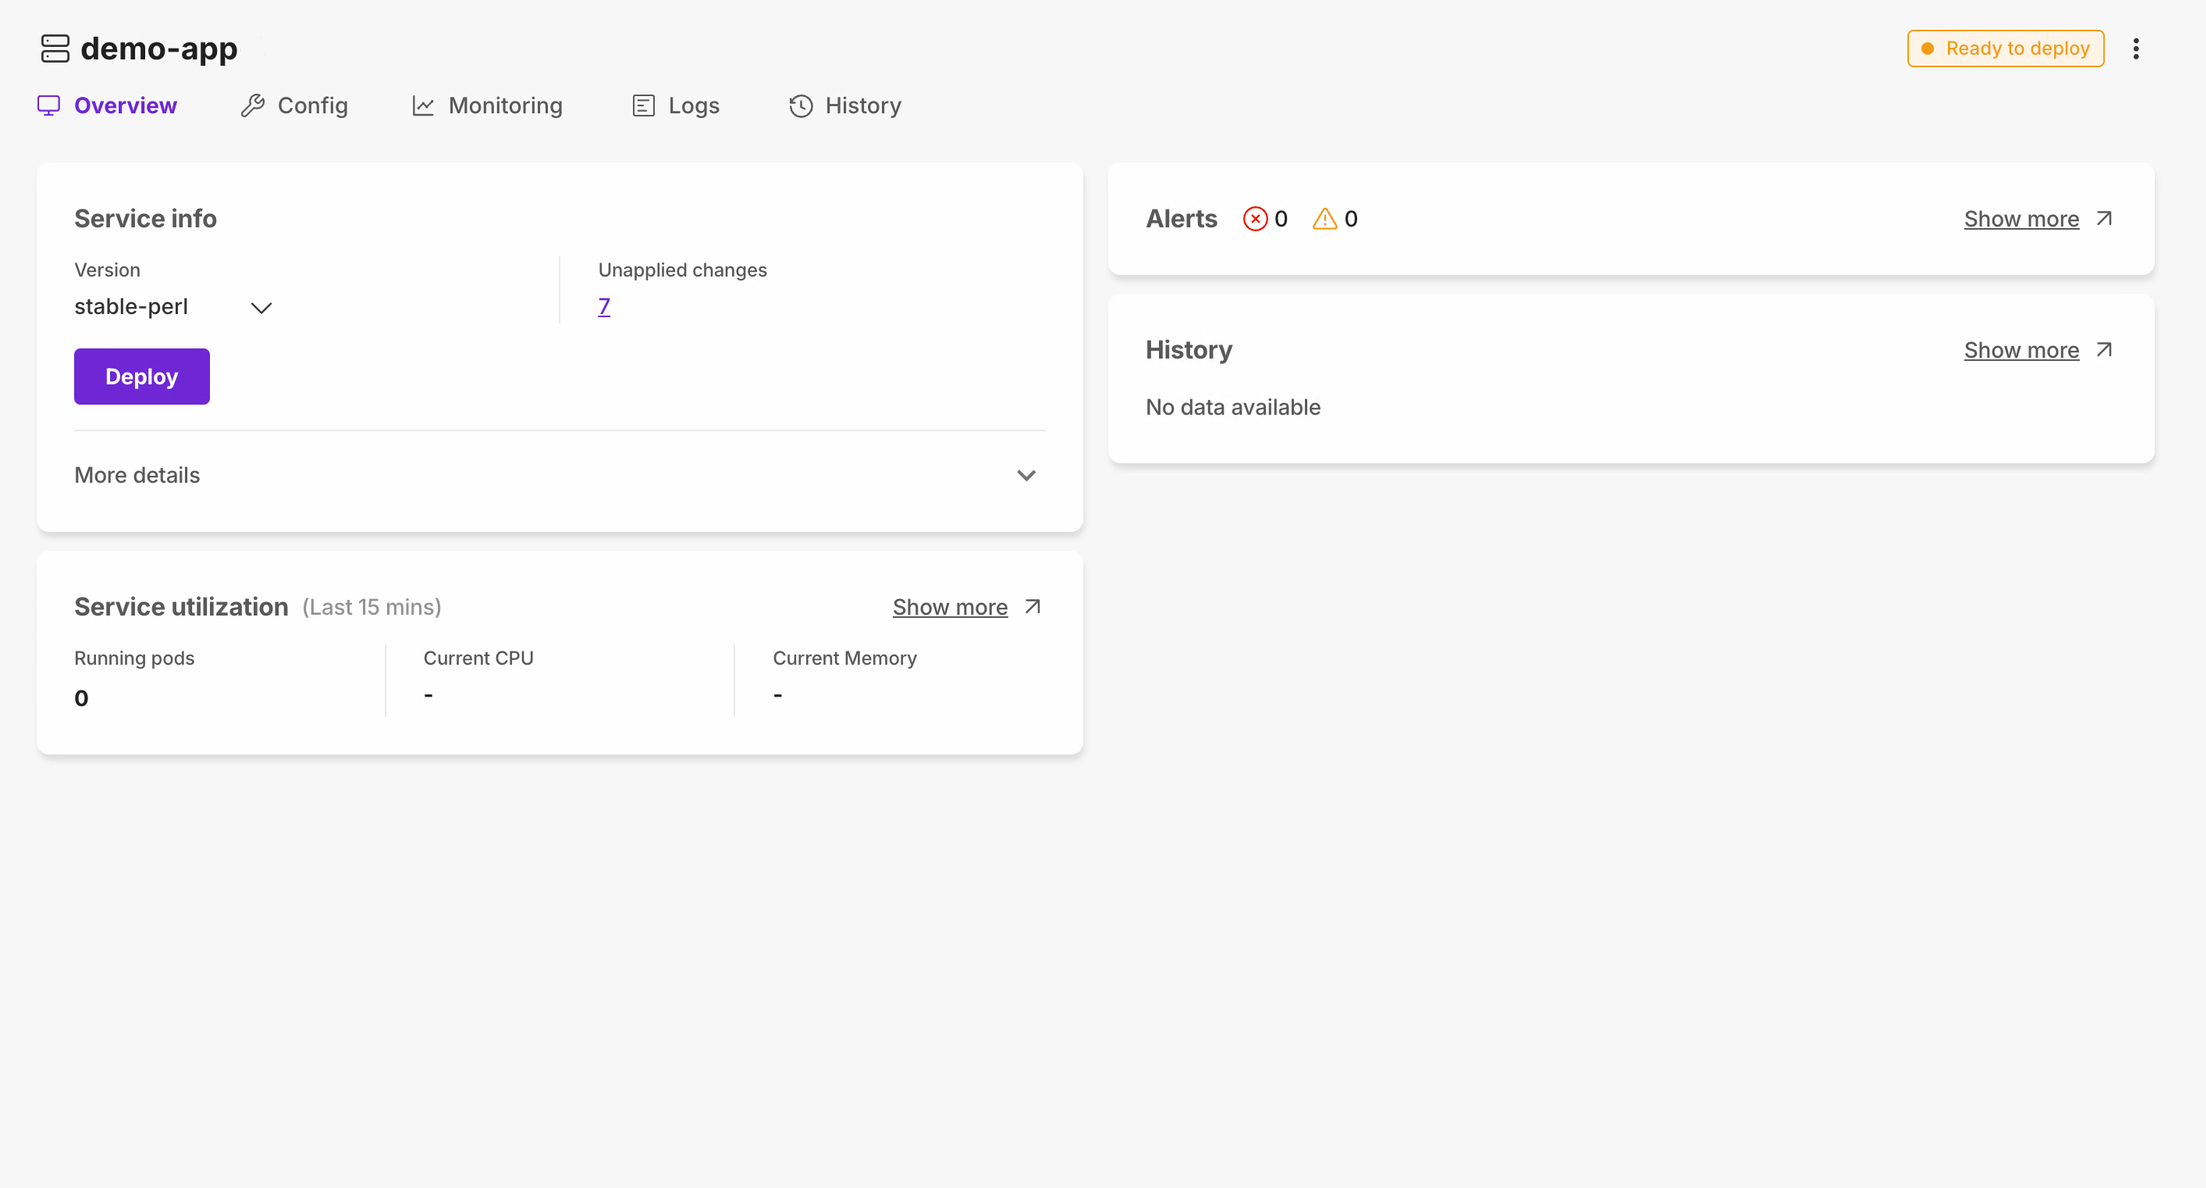
- In the Application overview page click on the Unapplied changes if any and confirm the configurations.
- Select Deploy button to deploy the application.

See It in Action
- Install kubectl
- Install awscli
- Configure AWS Profile with AccessKeyID and SecretAccessKey used while creating a kapstan cloudprovider connection
- Set the kubectl context to use AWS cluster
aws eks update-kubeconfig --region us-west-2 --name prod_demo
- Get the pods in Nginx namespace
~ » kubectl get pods -n nginx-server -o json | jq -r '.items[0].metadata.name'
nginx-server-c5d594f7c-4rjlp
- Copy the pod name and proceed with port forwarding. Port forward Nginx port to local.
kubectl port-forward <pod-name> 9000:8080
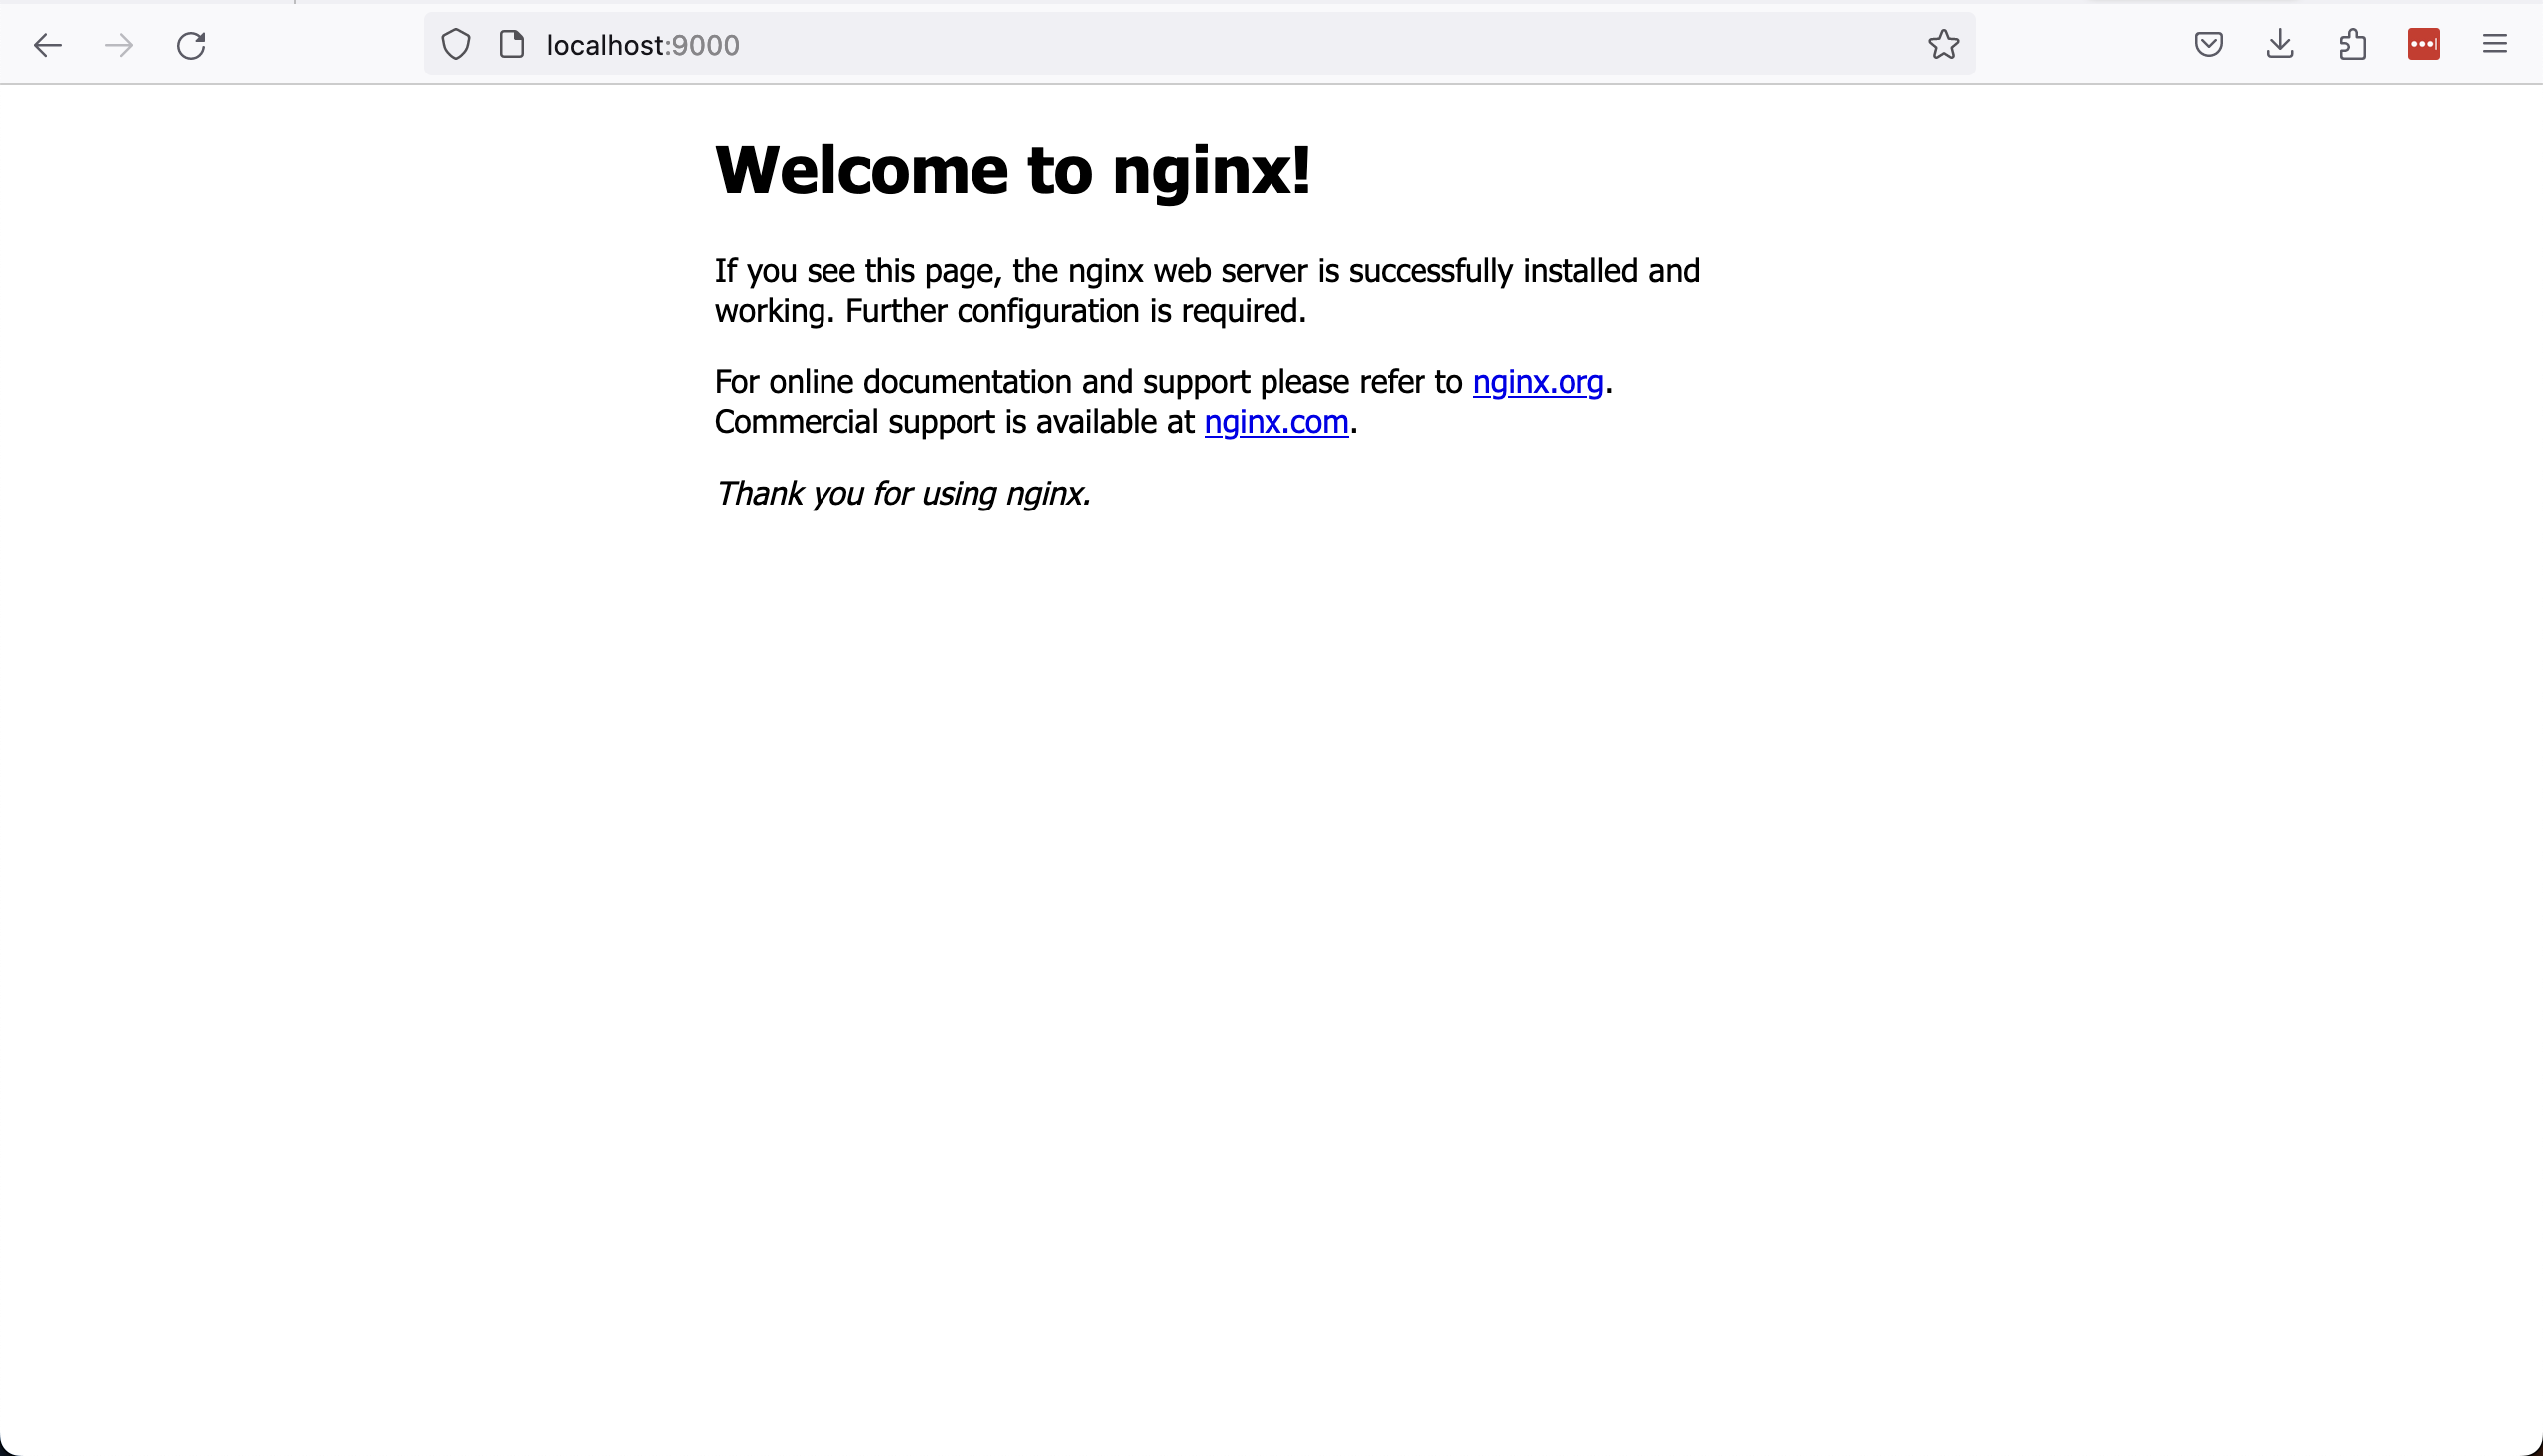
 7. Open
 localhost:9000 in your browser.


